Tutorial: Rollei C41 Digibase – Color Film Development
37 81 Share TweetThe Rollei C41 Digibase Kit is a great solution for inexperienced Lomographers wanting to develop their own color film. Unlike many other kits this one works at lower temperatures. It has allowed me to successfully develop color negative film, redscale film, and even cross-process slide film, all on the first go.

Before ordering this kit I did a lot of online research on color film development. Turns out there are two important issues with color film developing: the chemicals have a short shelf life and you need to be able to work at high temperature. The Digibase C41 kit is an exception to both: it has an excellent shelf life and, even more, important for the home-developer, it works over a very wide temperature range. The lucky few who have the means to heat up the solutions to a temp of 45°C can go for the rapid developing process. But even the rest of us, who are depending on a bucket of hot tap water, are all set with this kit!


The Rollei Digibase C41 kit is sold in different sizes, ranging from 0,5l to 5l in volume, ranging from 10 to 100 rolls in development. Since I planned to do a lot of shooting I bought the largest kit, resulting in a very low cost per roll, only €0.50 per film. This tutorial will work for you, regardless of which size kit you choose.
As there are plenty of resources that will explain how to use a dark bag, how to spool your film on a developing reel, how to use a developing tank, how to hang your film to dry, etc. I will solely focus on the development process in this tutorial.
Materials You'll Need
- Four dark plastic bottles to store solutions, 1l
- Large measuring cylinder, 1l
- Smaller measuring cylinder, 100ml works fine
- Small volume syringe (included in kit)
- Precise thermometer (ranging at least to 45°C, preferably higher)
- Developing tank
- Funnel
- Film squeegee
- Bucket (large enough to hold the 4 bottles)
- Tap with hot water
- Stop watch (any clock showing seconds will do, I use my iPhone)


Mixing Solutions: Steps
The Digibase C41 kit is delivered as concentrated solutions you need to mix and dilute yourself. The box clearly states it holds enough concentrates to make up 5 liters of working solution, but it isn’t that straight forward. The only solution you can make 5 liters of is the developer. There is only enough concentrate in the box to make 3.5 L of bleacher and fixer each, and 3 L of the stabilizer. The good thing is that the final volumes of each liquid, being 5 L or 3 L, is sufficient to develop at least 100 rolls.
In order to use the solutions at the same rate and refresh them at the same time, I opted to make the right amount of solutions so that each would give me 20 rolls. That means I made 1 L of developer, 700 ml bleacher, 700 ml fixer and 500 ml stabilizer.
Note: if you’re planning on developing e.g. 2 rolls of 35mm simultaneously, you should realize 500ml would not be enough volume. In that case, you could make 1 L so the stabilizer will last for 40 rolls, exactly twice as long as the other solutions. Solutions can be made with tap water but it is advised by the manufacturer to use distilled (de-mineralized) water.
1. The Color Developer: To make 1 L of developer I followed the instructions printed on the bottle. You will need warm water (49°C), a large measuring cylinder (1 L), a small measuring cylinder (100 ml) and a syringe (provided with the kit). The volumes for making up 1 L of developer are:
Part A: 100ml, Part B: 100ml, Part C: 100ml and starter: 10ml (use the syringe for this).
Start by filling the large cylinder halfway with warm water (49°C).
- Add 100ml part A and mix well.
- Add 100ml part B and mix well.
- Add 100ml part C and mix well.
- Add 10 ml starter and mix well.
- Finally, top of the volume to precisely 1 L.
Keep the solution in a dark bottle, clearly labeled.
2. Bleacher: To make 700 ml of bleacher I followed the instructions printed on the bottle. You will need warm water (35-40°C), a large measuring cylinder (1 L), a smaller measuring cylinder (the same 100 ml cylinder from before works fine). The volumes for making up 700ml of bleacher are: Bleach concentrate (196 ml) + Water (504 ml). Mix well and store in a clearly labeled bottle.
3. Fixer: To make 700 ml of fixer I followed the instructions printed on the bottle. You will need warm water (32-40°C), a large measuring cylinder (1L), a smaller measuring cylinder (the same 100 ml cylinder from before works fine). The volumes for making up 700 ml of fixer are: Fixer concentrate (140 ml) + Water (560 ml). Mix well and store in a clearly labeled bottle.
4. Stabilizer: To make 500 ml of stabilizer I followed the instructions printed on the bottle. You will need warm water (32-40°C), a large measuring cylinder (1L), a smaller measuring cylinder (the same 100 ml cylinder from before works fine). The volumes for making up 500 ml of stabilizer are: Stabilizer concentrate (25 ml) + Water (475 ml). Mix well and store in a clearly labeled bottle.
Note: you can find an online instruction manual for this kit. In my case, the instructions in the manual differed from the information on the bottle when it came to mixing the stabilizer. I followed the instructions on the bottle rather than the manual (which wasn’t included with the kit, by the way). You too should carefully check your bottles and follow the instructions you find on them, even if it differs from the information I give you.
When you are finished making your working solutions it is best to store the remaining concentrates in a cool, dark place (no need to store in a fridge!). The solutions you have just mixed should also be stored in a cool and dark place when not in use.
You have made enough solution to develop 20 films. You do not have to use it all in one go! You can reuse the solutions over several weeks or even months, simply pour the used solution back into the labeled bottles. Keep track of how many films you have processed and when you hit #20, the time has come to make new working solutions. Check with local waste disposal officials to find out where you can dump the used chemicals.
Getting Your Chemicals Up to Temperature
According to the instruction manual, there are 4 set temperature points at which you can develop your film: 45°C, 37,8°C, 25°C and 20°C. Depending on the temperature, development takes from 2 min to 21 min. Since I have no water heater or warm water bath, I simply use a bucket of warm water, it is close to impossible for me to reach a specific temperature. To make things more complicated they indicate different temps for the next step in the process. So I have to use a workaround.
Using the information from the manual I created a very handy graph. I plotted the indicated temp/time points from the manual on a graph and connected the dots (pun intended). This way, instead of aiming for a set temperature indicated in the manual, I simply measure the actual temperature of my solution and use the graph to determine the appropriate developing time. For your convenience, I made similar graphs for the bleaching and fixing processes as well.

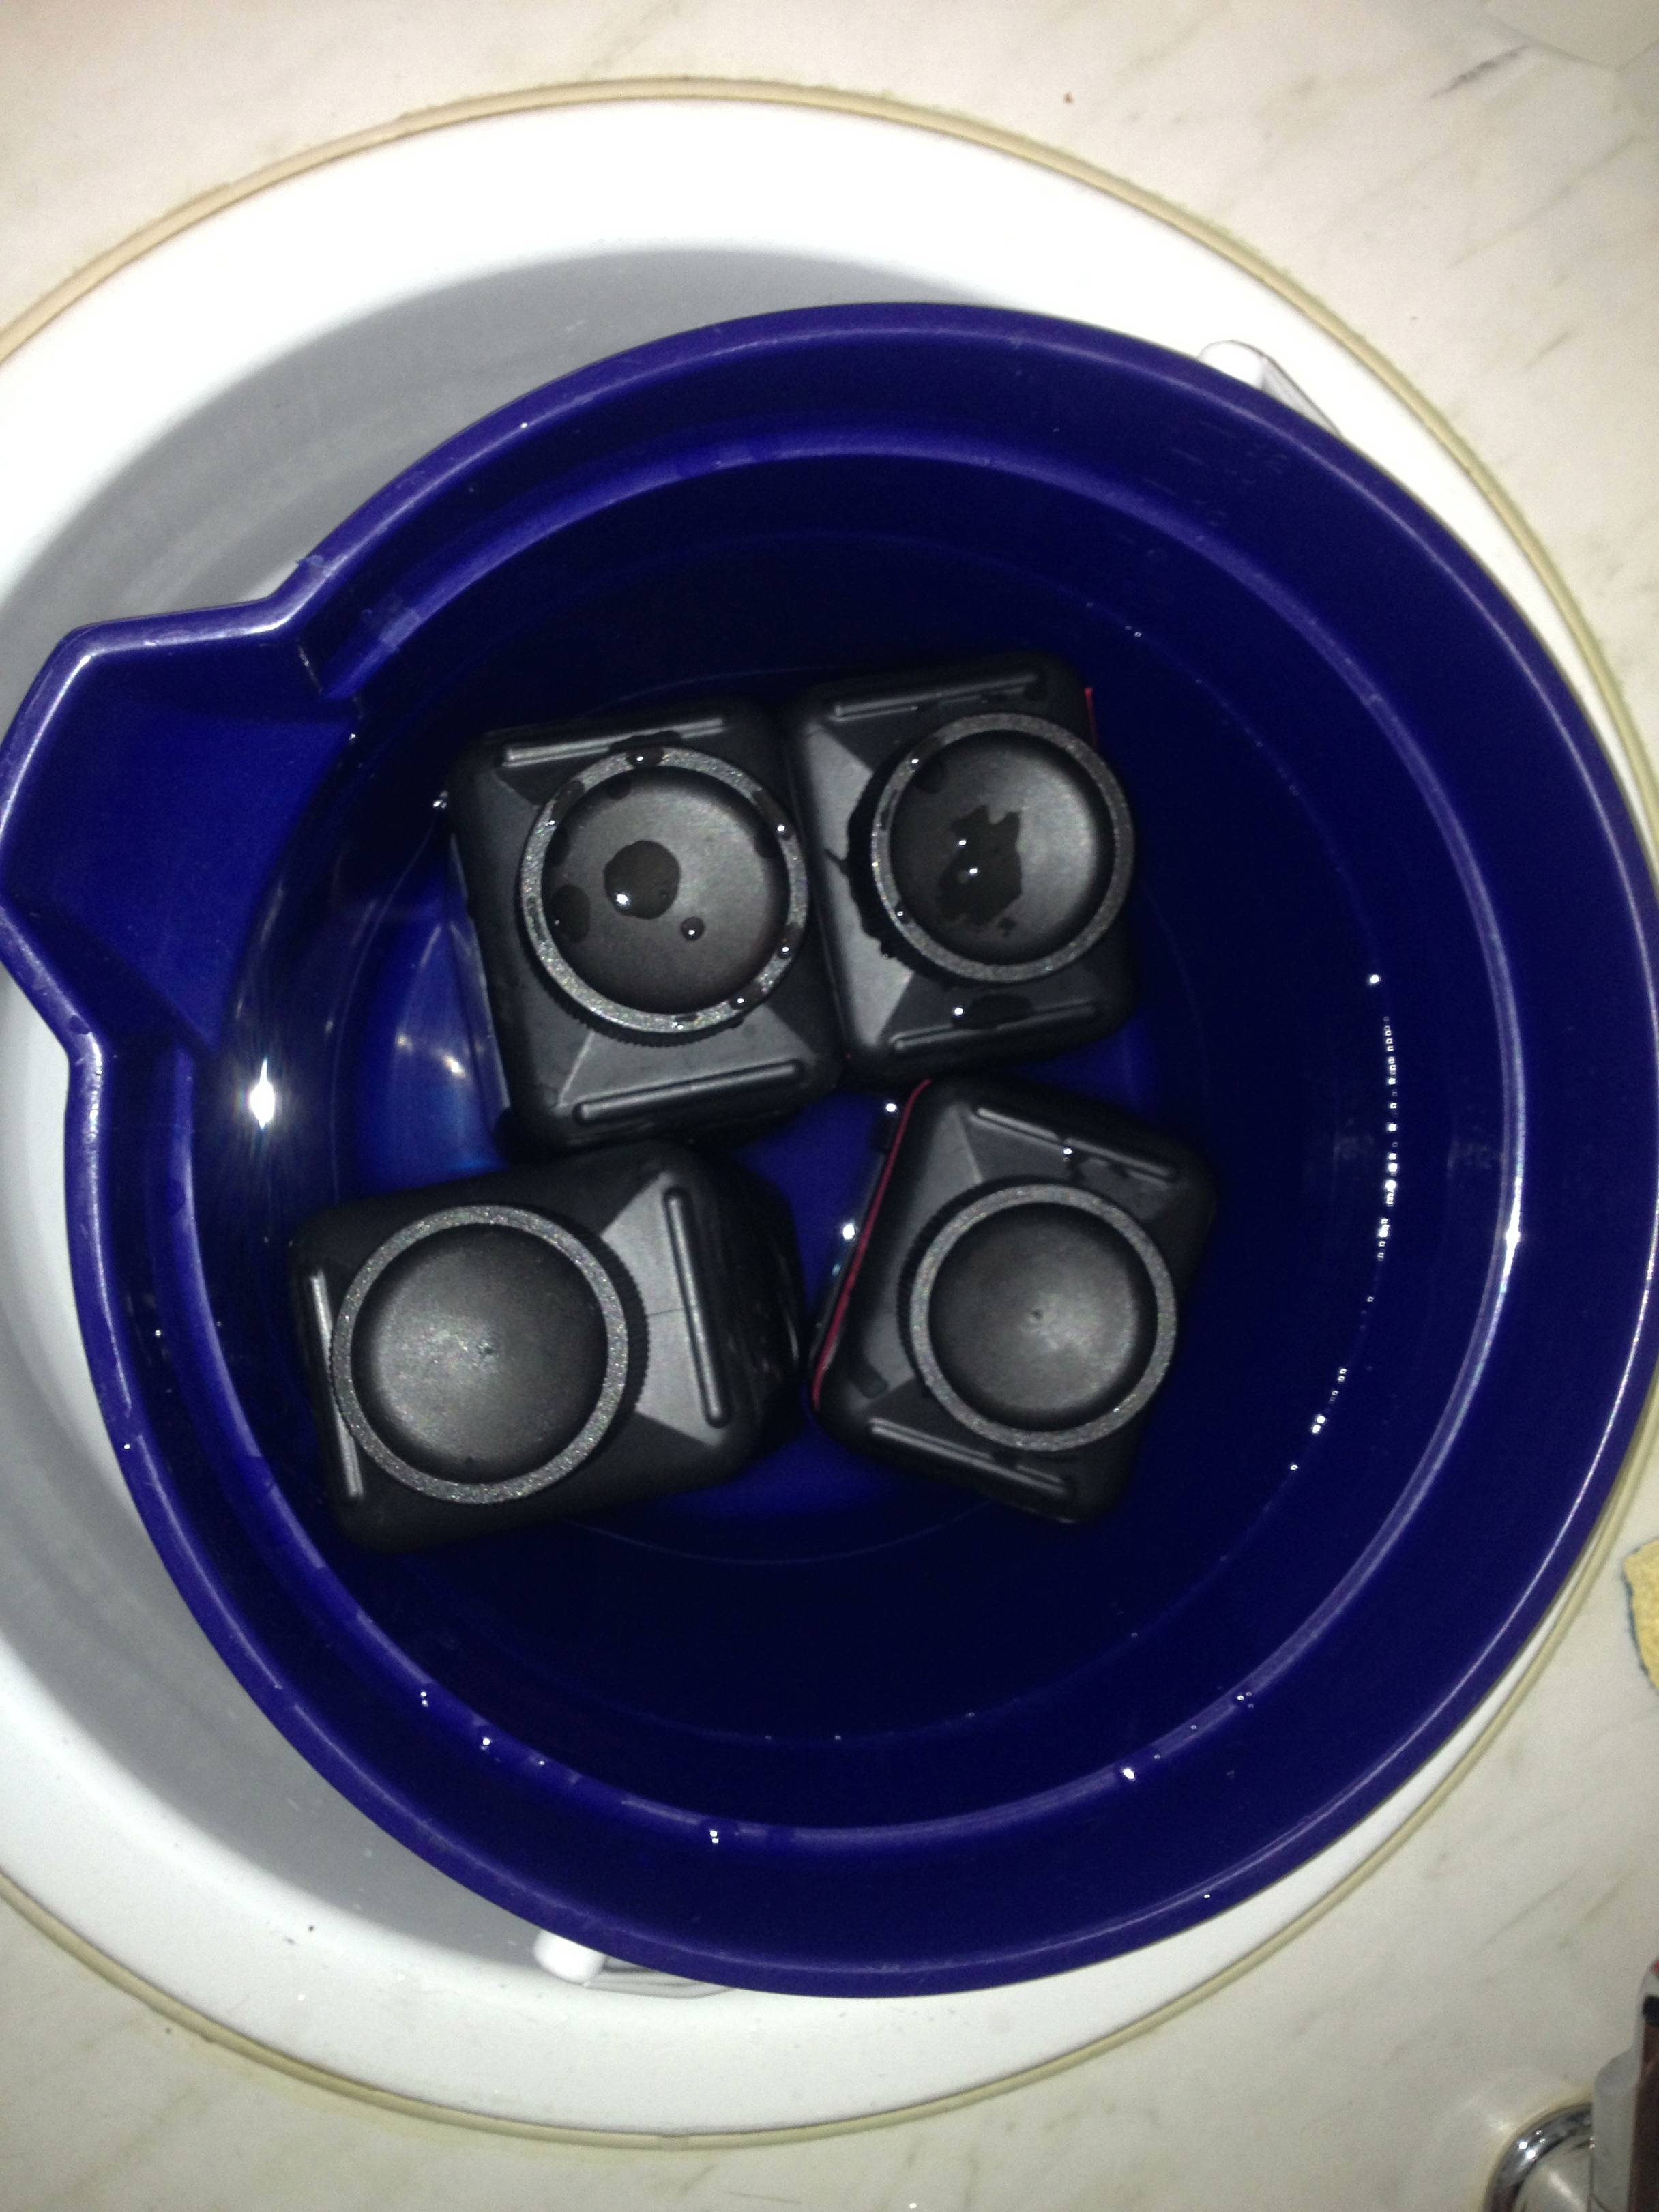
As I said, I use a bucket of hot tap water to warm up the chemicals. My tap water goes as high as 60°C. Experience has taught me that placing the bottles in a bucket holding 3.5 liters hot tap water for 15 minutes is enough to get the temperature of the chemical up to approx. 40°C. So, no need to buy expensive heating set up; all you need is some hot water!
Theoretically, you could start developing as soon as your chemicals reach 25°C, which will give you a total processing time of half an hour. Personally, I like the system I have used so far: fill a bucket of hot water, put in the bottles, wait for 15 minutes, and whatever temp the liquids have reached is fine (as long as it is over 25°C!). I leave the bottles in the bucket during the entire process. The temperature will drop a little, but no more than a few degrees. If you feel temperature drops too much, just replace some of the water in the bucket with hot water again.
Development Process
The Digibase C41 process consists of 5 steps. We’ll go through them one by one.
0. Pre -Soak: To start of it is advised to pre-soak your tank and film with tap water at approximately the same temperature your chemicals have. The easiest way is to scoop water from your bucket into the tank. CAREFUL: make sure the temp has dropped down enough! Pouring 60°C water on your film might damage it! Pre-soak will get your tank and film up to temperature and will soften the emulsion on the film, improving development results. Pre-soak for 2 to 3 minutes and dump the water from your tank (pour it back into the bucket if you like).
1. Developing: Pour the developer in the tank and start your timer. You don’t need to measure the exact amount, just make sure your film is covered. I use a Patterson tank and pour in liquid until I see it reach the bottom of the funnel. Close up the tank with the lid and invert for 15 seconds. Set the tank down with a nice tap to dislodge air bubbles and take off the lid. From this moment until the end of this step you just need to agitate once every 30 seconds (use the little agitator to spin the spool around).

This is the moment the DEVELOPER graph comes into play. Place your thermometer in the tank and read the exact temperature of the liquid. Find this temperature on the left side of the graph, follow the line horizontally until you hit the red graph line, drop straight down and read the time you will need to develop. Easy as pie!

Keep agitating every 30 seconds. Keep the labeled bottle near, with a funnel placed, ready to go. When you have 15 seconds left of your developing time start, pour the liquid back in the bottle. Reset your timer.
2. Bleach: Pour the bleacher in the tank and start your timer. Close up the tank with the lid and invert for 15 seconds. Set the tank down with a nice tap to dislodge air bubbles and take of the lid. Agitate once every 30. This is the moment the BLEACHER graph comes into play. Measure the exact temperature of the bleacher in your tank and use the graph to determine the appropriate processing time.
Keep agitating every 30 seconds. When you have 15 seconds left of your bleaching time, start pouring the liquid back in the bottle. Reset your timer.

3. Fix: Pour the fixer in the tank and start your timer. Close up the tank with the lid and invert for 15 seconds. Set the tank down with a nice tap to dislodge air bubbles and take off the lid. Agitate once every 30. This is the moment the FIXER graph comes into play. Measure the exact temperature of the fixer in your tank and use the graph to determine the appropriate processing time. Keep agitating every 30 seconds. When you have 15 seconds left of your fixing time, start pouring the liquid back in the bottle. Reset your timer.

4. Stabilize: Pour the stabilizer in the tank and start your timer. Close up the tank with the lid and invert for 15 seconds. Set the tank down with a nice tap to dislodge air bubbles and take off the lid. Agitate once every 30. The stabilizing step doesn’t appear to be very time sensitive. The manual indicates times from 1 min at 40°C to 1 min t 25°C. As long as the temp of the stabilizer is between 35-40°C I choose the middle ground and use a fixed time of 1 min 15. Works fine for me.
When you have 15 seconds left of your stabilizing time, start pouring the liquid back in the bottle.
Admire Your Results!
And that's it, you're done! Your film is developed! You can now completely open the tank and take out the reel. Avoid touching the film with your fingers. Immediately attach a clip or a clothespin to the accessible end of the film, open the reel and carefully let the film come off. Remove the excess liquid with the squeegee and hang your film to dry in a dust-and-draft-free room. Scan your film and post your results for the rest of us to see. ;-)
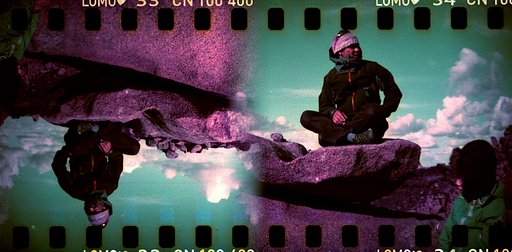
Now let me share some of my results! Every roll I have tried so far has given me great results: color negative, redscale, and even x-pro.


Acknowledgement:: About a month ago I read an article written by blueskyandhardrock. It was the first part of a C41 DIY developing tutorial, in which she claimed the entire process wasn’t very hard at all. When I read the second part of the article, she had me convinced C41 processing truly wasn’t as difficult as everybody made it out to be. So, thank you blueskyandhardrock for getting me to jump in, feet first!
This article was written by Community member sandravo. Upload your freshly developed photographs to your LomoHome!
geschrieben von sandravo am 2013-05-20 in #Ausrüstung #Anleitungen #diy #rollei #c41 #tutorial #tipster #development #digibase #home-development #color-development


37 Kommentare