How To Scan Regular 35mm Photos Using Lomoscanner App
1 7 Share TweetLast week, we launched the first test version of the Lomoscanner app for iPhone. The app is still being worked on by our app developers, but we wanted to launch a test version for you to try out. In this tutorial, we run through the most basic type of scanning you can do with the app. Soon we will also have tutorials on how to scan panoramic photos and LomoKino films!
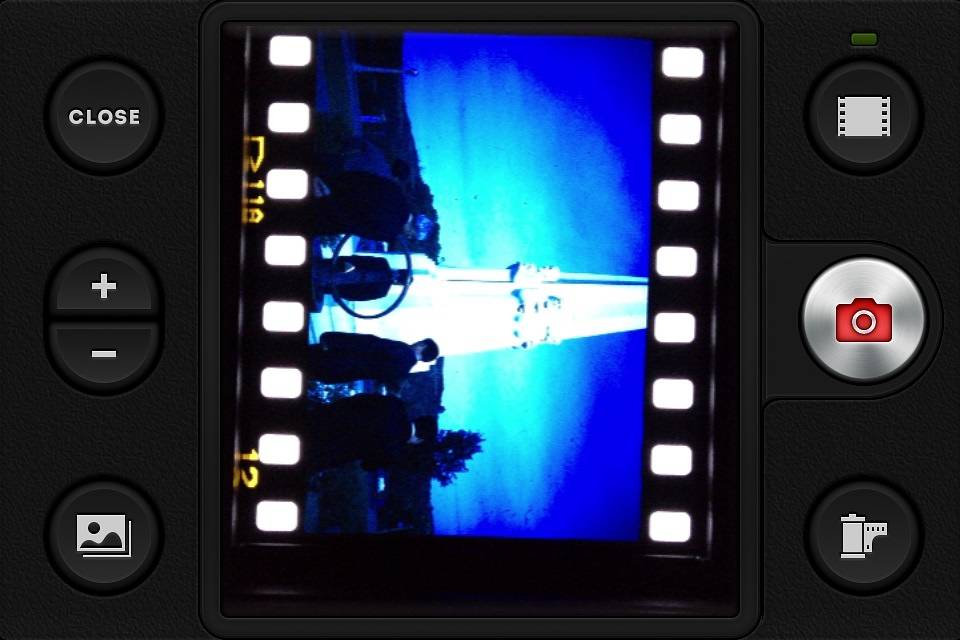
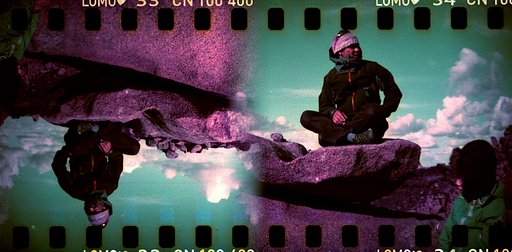
Firstly, if you haven’t already downloaded the test version of the Lomoscanner app for iPhone, you can do so here. The first photo in the gallery is how the final result looks like (it’s a naturally very blue photo!) and right below we guide you through all the steps involved.


1. The final result
2. First open up the Lomoscanner app and select ‘Regular’ from the menu
3. Using the scanner, scroll to the photo on your strip you would like to scan
4. Use the + and – signs to zoom in or out of the photo
5. Click the film roll icon in the corner of the screen and select the type of film you are scanning (here you can see we already did this in an earlier stage since our photo already shows with the correct color)
6. Click the Sprocket icon to add/remove sprocket holes from your scan
geschrieben von tomas_bates am 2013-04-09 in #Ausrüstung #Anleitungen #tipster #lomoscanner-app


Ein Kommentar