Tutorial: Tetenal Colortec E6 3-bath Kit - Develop your own color slides
13 26 Share TweetThis is a tutorial for the adventurous Lomographers, for those brave enough to do their own B&W and C-41 work but lacking the confidence to move onto E6. Fear no more! I am an enthusiastic home developer, just like the rest of you, I am not a chemical lab wizard! So if I can pull this off, so can the rest of you. Take a deep breath, relax, and read on. By the end of this article I hope you’ll have mustered the courage to give it a go yourselves!

About a year ago, I discovered the virtues of doing my own film development. Just like so many, I started out with a single B&W film in my kitchen sink. Developing turned out to be fun and fairly easy, and pretty soon I was ready to move on to also do my own C-41 work. For economic reasons but mostly because ease of use, I settled on the Rollei Digibase C-41 kit. Over the last 12 months, I have developed close to 150 films with this kit, and each and every one of them has come out perfect! If you want to read up on how to use this kit, you can find my detailed tutorial here. If however you have already mastered C-41 processing and are more interested in E6 developing, then stay with me and read on.

Before setting out on this new adventure I did what I always do: search the entire internet! Now, Google has its advantages, but it can also work against you. It is the perfect source to look for any piece of information, but while looking for that information you’ll also come across all sorts of stories you don’t want to know about. The same happened to me here: for every report I found saying E6 was perfectly possible in your kitchen sink, I found another one claiming you’d have to be a fool to do your own E6 and that it should be left to professionals. As usual, the truth lies somewhere in the middle.
Based on what I could find online, I decided I would chose the Tetenal Colortec E6 3-bath kit. This kit is reported to have a decent shelf life, and if you buy the bigger 5L kit it is by far the more economical choice (costs 90€ for 5L lit, good for 60 rolls). The box arrived quickly, holding 6 bottles of concentrates and a small instruction booklet in 10 languages. Other than this, I used only the hardware I already had available from my B&W/C-41 developing. So if you have a working setup for film developing, nothing else needs to be bought to get started.
1. What you’ll need
- daylight developing tank
- dark plastic bottles (e.g. Jobo bottles)
- Tetenal Colortec E6 3-bath kit
- measuring cylinders: 500ml and 100ml
- thermometer
- funnel
- large cup for scooping water
- bucket
- basin
- access to hot tap water
2. Mixing chemicals
Given the name of the kit, Tetenal E6 3-bath kit, you would expect 3 baths, while in reality there is a 4th bath. Don’t worry, it comes in the box. For this process you will need to mix up a first developer, color developer, blix and stabilizer. The instructions booklet clearly indicates how this needs to be done. Since the working solutions can only be kept for a few weeks, and also because I mainly shoot 120 film, I decided I would make 500ml working solutions.

Solution 1: First Developer – FD
400ml water + 100ml FD concentrate

Solution 2: Color Developer – CD
340ml water + 100ml CD part I + 60ml CD part II
Editor’s note: Updated according to Tetenal’s new Colortec E-6 Kit for 2.5 Liter baths
300ml water + 100ml CD part I + 100ml CD part II

Solution 3: Bleach+Fix – BX
300ml water + 100ml BX part I + 100ml BX part II

Solution 4: Stabilizer – STAB
450ml water + 50ml STAB concentrate
Editor’s note: Updated according to Tetenal’s new Colortec E-6 Kit for 2.5 Liter baths
450ml water + 100ml STAB concentrate

3. Setting up a functioning work space
The most important part of getting your E6 development right is working at the absolute correct temperature. Make no mistake about that, do not assume it wont make too much of a difference, because it will! Getting the liquids at the correct temperature is easy if you have some kind of warming bath at your disposal, but it can also be done with a bucket, a basin, running water and a thermometer. You just need patience and take your time to get things right BEFORE you start.
This is what my setup looks like, left to right:
- a bucket containing water at 38°C for all the washing steps. If the temperature drops, just open the hot water tap.
- a funnel for pouring working solutions in the bottles after use
- a large measuring cup for scooping the washing water from the bucket into the tank
- a freely accessible mixing tap and a sink to pour away used washing water
- plastic basin with warm water, serving as a water bath to warm the tank and solutions 1-2-3.
Before starting the development process, temperature is adjusted so that the solutions inside the bottles are at 38°C. The water in the basin is kept at +/-39°C to allow for the cooling that occurs every time you lift out the tank or a bottle. If the temperature in the tank rises too high during development, just lift it out of the water bath. If temperature drops too low, pour in some hot water. It is important you monitor the temperature as accurately as possible, especially during the the FD and CD developing stages.

4. The actual developing process in Tetenal E6
The manual gives a nice overview of the processing times and temperatures. If you look closely, you’ll see that FD, CD and BX times change when more film has been processed in the working solution. Apparently E6 chemicals get exhausted really fast, so the increase in developing time is something that cannot be overlooked! The stabilizing time remains the same, regardless of how many rolls have gone through. If you look closely again, this time at the temperature column, you’ll see that the further you are in the process, the more latitude you have when it comes to the temperature range.

This is the schedule I have been following:
0 – Pre-heat tank
Temp: 37,5-38,0°C
Time: 5min
I fill my tank with water for this step, but I have read many reports claiming the pre-heat should be done dry. I have had great results, so I will keep doing as I have, but the choice is yours.
1 – First Developer – FD
Temp: 37,5-38,0°C
Time: rolls 1-2: 6min15, rolls 3-4: 6min30, rolls 5-6: 6min45
For the FD, CD and BX steps, the manual indicates that you should agitate continuously for the first 15 seconds and then once every 15 seconds. It does not indicate whether this should be done by inverting the tank or by use of the agitation-swirl-stick thingy. If you would chose inversions, you would have to take the tank out of the water bath and move it around in cold air, causing a reasonable temperature drop. So because of the temperature sensitivity of the entire process, I opted for the swirl-stick and it appears to be working fine.
2 – Washing
Temp: 37,2-38,3°C
Time: 2min
According to the manual you need to wash under running tap water, at exactly the right temperature. Since my tap doesn’t have a thermostat, that is not an option. The next best thing is do the washing by filling the tank with water, keep it moving for 30sec, dump the water, refill the tank and repeat the process. For a washing step of 2 minutes I repeat this 4 times, making sure I have 2 minutes of actual washing time (so the time it takes for dumping/refilling is not counted as washing.)
3 – Color Developer – CD
Temp: 37,2-38,3°C
Time: rolls 1-2: 6min, rolls 3-4: 7min, rolls 5-6: 8min
Same agitation scheme as FD.
4 – Washing
Temp: 33,3-38,9°C
Time: 2min
Same washing scheme as before.
5 – Bleach-Fix – BX
Temp: 33,3-38,9°C
Time: rolls 1-2: 6min, rolls 3-4: 7min, rolls 5-6: 8min
Same agitation scheme as FD.
6 – Washing
Temp: 33,3-38,9°C
Time: 4min
Same washing scheme as before, but repeat the 30 sec washes up to a total of 4min, 8 cycles in total.
7 – Stabilizer – STAB
Temp: 20-25°C
Time: 1min
This is another point of discussion. Manual states: stabilizing is done outside the tank. What they mean to say is: stabilizing should be done outside the tank AND OFF THE REEL. The reason they say this is that you can have a build-up of stabilizer on all your plastics over time. This could cause the reels to get sticky and complicate loading your film. However, I have experienced no such issues. I am just very careful to give everything a good rinse with hot water, making sure the reels are never left to dry when still covered in stabilizer. I prefer doing this on reel as working with unspooled film is a hassle, but the choice is yours.
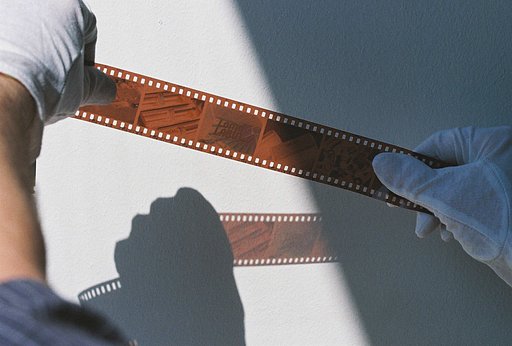
And that’s it, you’re done! You can now take a deep breath, open your tank and hang your film to dry. This is the perfect time to have a relaxing drink, kick your feet up, and enjoy that feeling of victory!
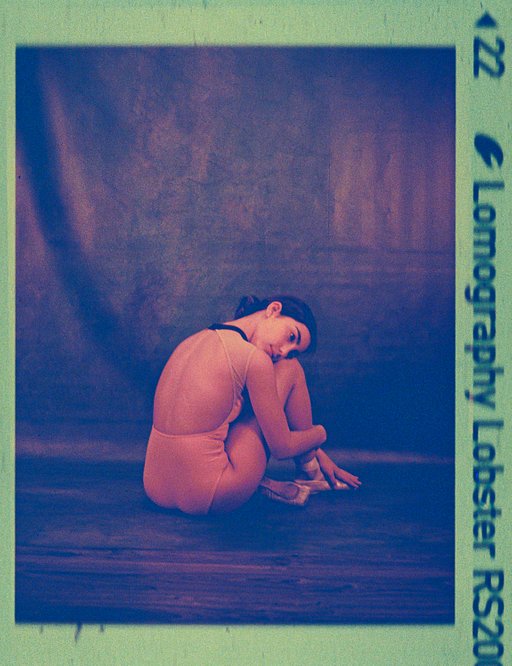
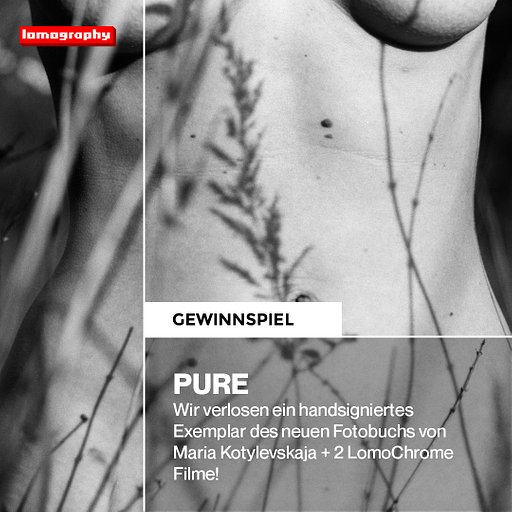
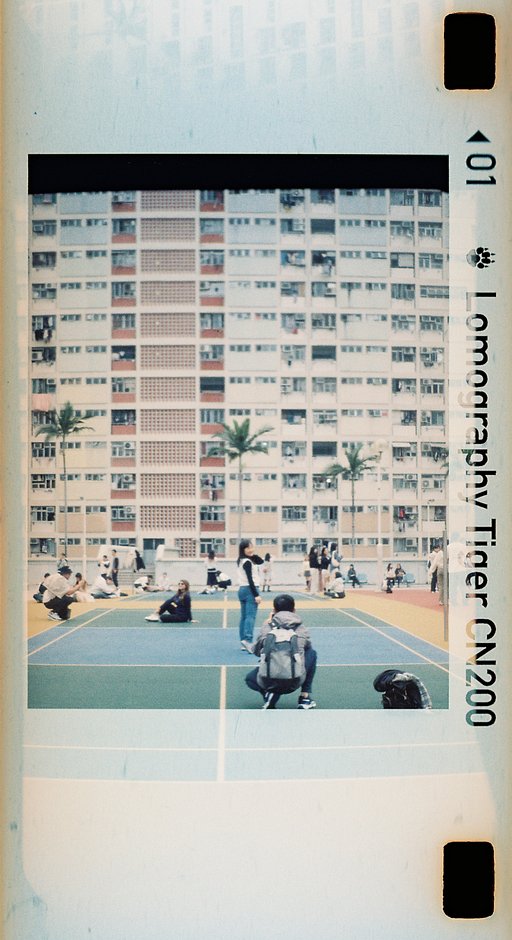
Enjoy these slides I produced with my first couple of tries!


geschrieben von sandravo am 2014-05-29 in #Ausrüstung #Anleitungen #film #diy #slide #tutorial #e6 #tipster #development #develop #tetenal #kitchen-sink


13 Kommentare