Blow It Up: Convert Your Konstruktor into an Enlarger
10 17 Share TweetShoot with your Konstruktor by day, then print photographic enlargements with the SAME Konstruktor by night! Yes, you can do it. Some basic camera modifications, coupled with some common camera accessories, and PRESTO! You can have your own DIY darkroom in your home.
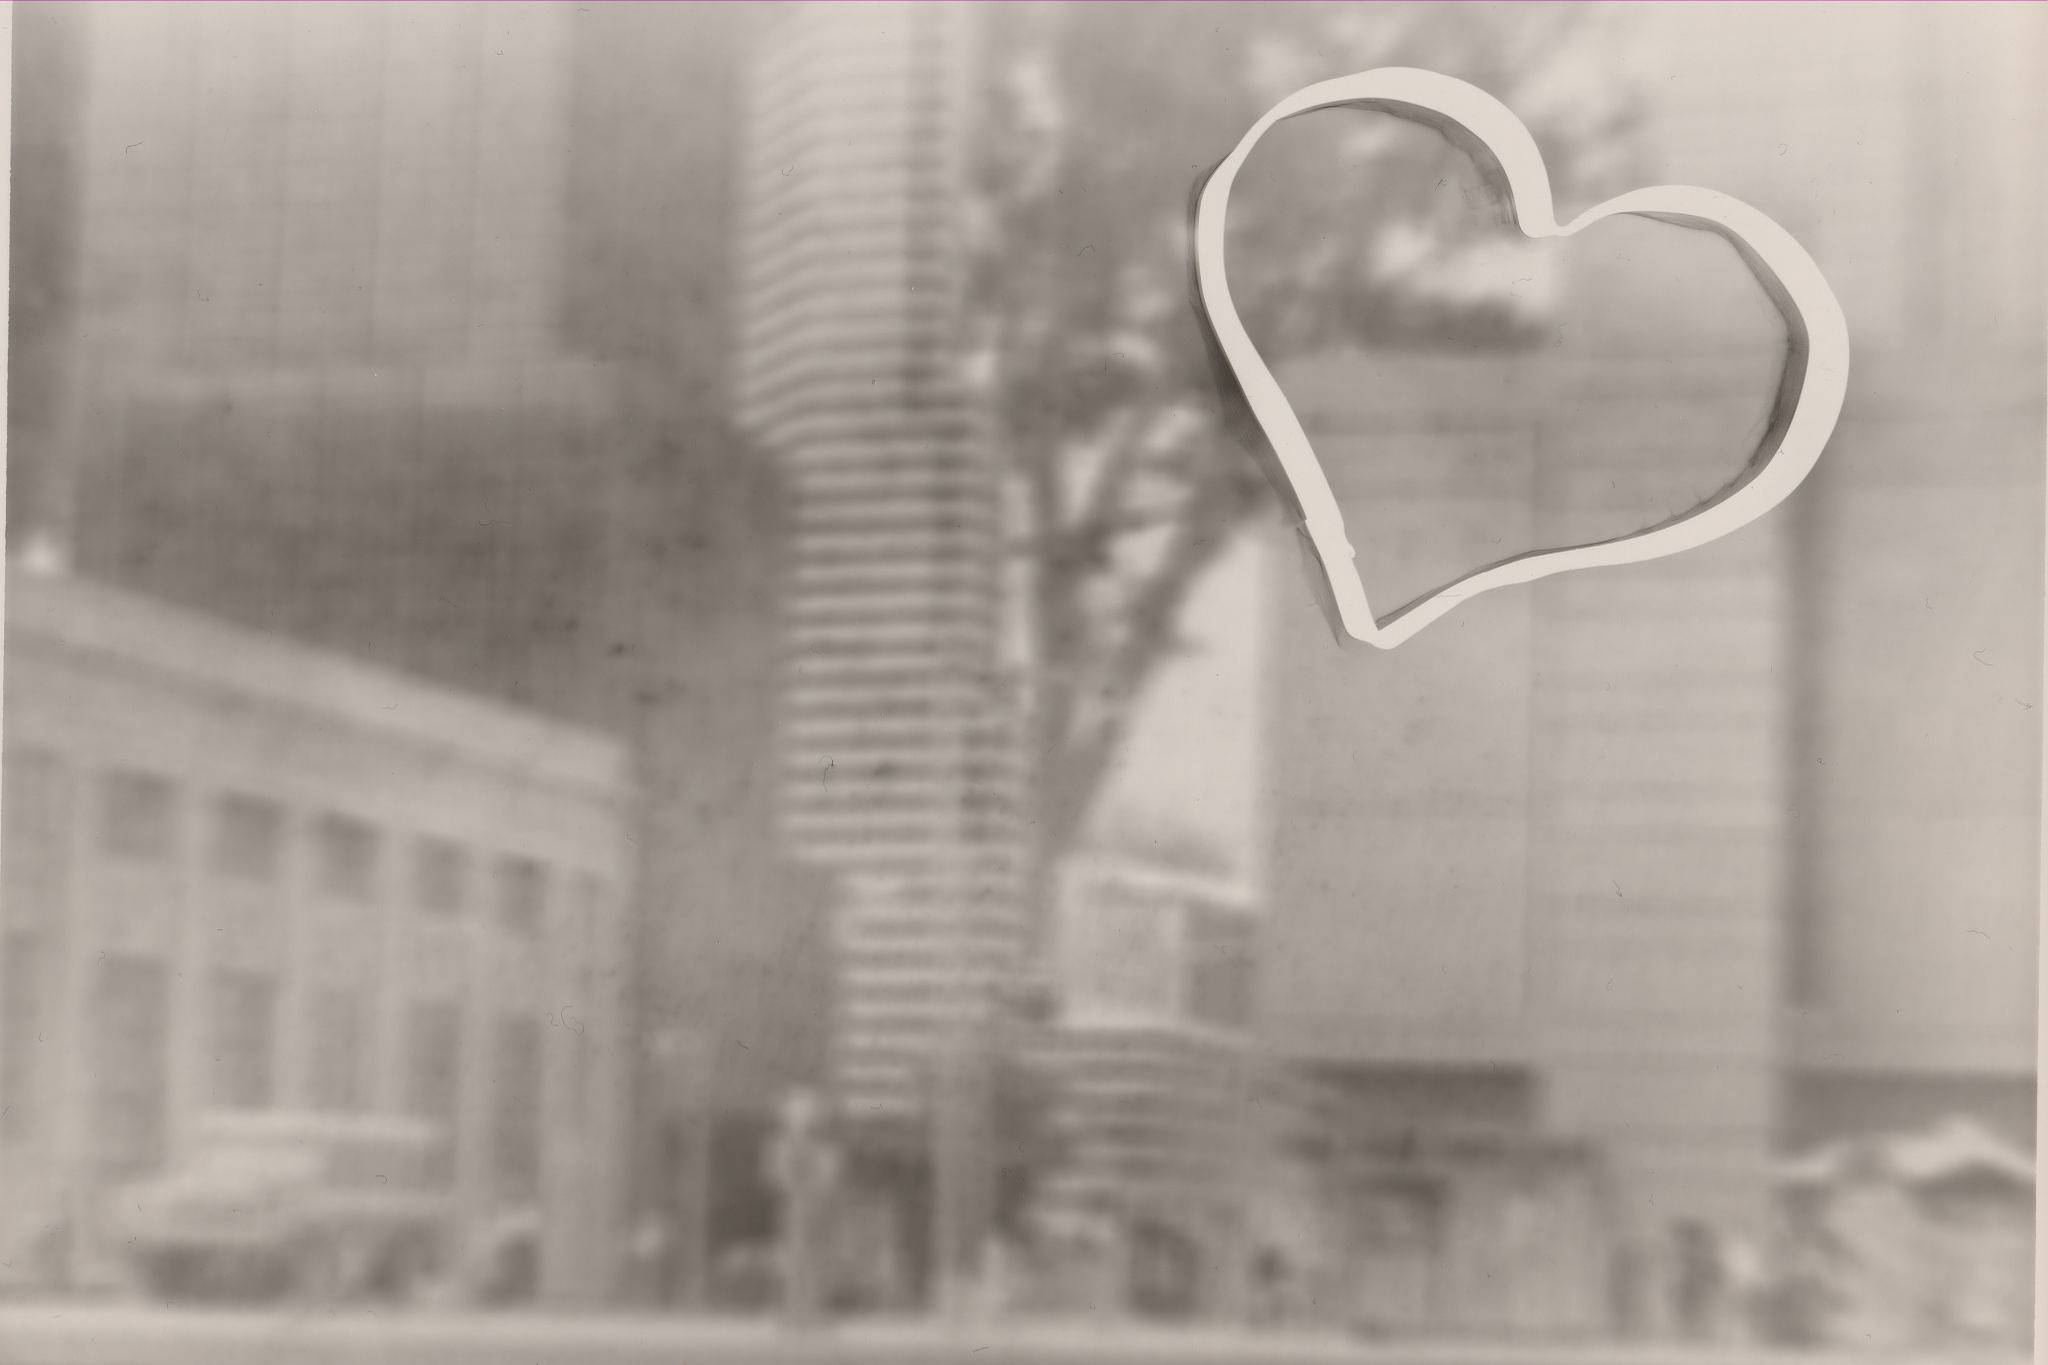
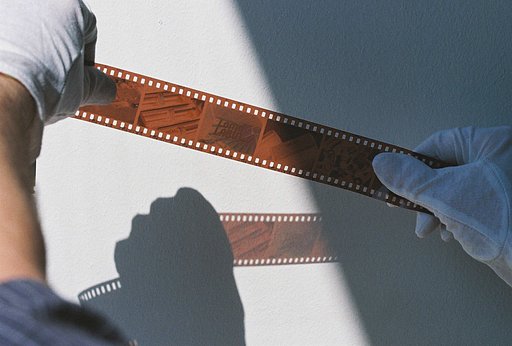
That whole scanning your negatives thing and converting them into digital images is perfectly well-suited for online display. Likewise, the inkjet/laser printing of your digital images can be similarly satisfying. If you want to make a “big” and clear photographic statement, however, there are no substitutes for a real genuine silver enlargement print.
In fact, a hand-developed photographic enlargement is nothing short of a transcendental experience. This force is so powerful, that it is one of the reasons why we are all fanatical supporters of Lomography. Right?
Somehow, something has been lost from the romance of photographic prints. If you’re like me, then you know exactly what is missing…an enlargement from one of your negatives, thoughtfully processed by your own hands. Very few photographic labs can handle custom requests like: I want to add a photo montage to my enlargement or I want to try a darkroom double exposure with these two negatives. If, on the other hand, you had a photographic enlarger at your disposal, then you could easily perform all of your manipulations right in your own darkroom.
Well, you can build your own enlarger: it’s easy and very inexpensive. And it’s hiding right in front of you.

The main component in this enlarger is the Lomographic Society International’s Konstruktor DIY 35mm SLR Camera Kit. Yup, that’s right, we’re going to convert the Konstruktor into a photographic enlarger. Let’s call this project: Konlarger.

Parts:
- Konstruktor
- Small Guide Number (GN) Electronic Flash (e.g., Holga Manual Shoe Mount Flash with a GN of 22 meters or Vivitar 125)
- Camera Tripod with Adjustable Head
- Single-Layer Facial Tissue
- Thin Black Flexible Foam Sheet
- Large Sheet of Black Foam-Core
- (1) 11×14-inch Picture Mat for an 8×10-inch print
- Ilford Multigrade IV MGD.1M Black and White Variable Contrast RC (Resin Coated) Glossy Paper 8×10-Inches – 25 Sheets Value Pack (1858468) [This pack comes with 2 free rolls of 35mm film!]
- (3) Paint Roller Trays
- Several elastic bands, rubber bands, or tape
- Some Red Transparent Plastic for Covering a Flashlight
- Photographic Developer, Stop Bath, Fixer
Time:
- 1 Hour
Difficulty:
- Moderate
Cost:
- $120 USD
Step-by-Step
Step 1. This step is optional. There are two simple modifications that you should do to your Konstruktor. Remove Part B19 (the film door) and Part P10 (the film door lock) from Konstruktor. This removal will make things easier for you later when you are attaching the electronic flash to the back of your camera and sliding film into the film chamber. Both of these parts can be easily reattached to the camera for normal film exposure. Or, you might opt for building one Konstruktor for taking photographs and another Konstruktor for acting as a permanent enlarger.

Step 2. Attach the modified Konstruktor to your tripod. Tilt the head downwards 90-degrees. Also, pan the head so that the camera is equidistant between two of the tripod’s legs.

Step 3. Determine which negative frame you want to enlarge and lay this frame on top of the camera’s film chamber. Be sure that this frame is both backwards and upside down in the film chamber.

Step 4. Cut your Thin Black Flexible Foam Sheet into a mask that will sit on top of your negative and keep stray light from the flash out of the film chamber. The opening in this mask should exactly match a 35mm film format frame. Unfortunately, sprocket hole exposures are not practical with Konlarger.

Step 5. Load fresh batteries into your electronic flash. Wrap one layer of Facial Tissue around the flash head. Lay the wrapped flash head on top of the foam sheet mask. Secure the flash to the Konstruktor with criss-crossed elastic bands, rubber bands, or tape. Make sure that none of these bands are covering the camera’s lens.


Step 6. Set the camera’s N/B Lever to “B”, cock the Mirror Reset Knob, press the Shutter Release Button, and hold the button down with an elastic band, rubber band, or tape.

Step 7. Raise the tripod head until the camera is approximately 0.5 meters above your floor.

Step 8. You are now ready to make an enlargement. Take your Konlarger, Paint Roller Trays, Photographic Paper, Red Plastic Covered Flashlight, Foam-Core Board, and Picture Mat into your darkroom.

Step 9. Pour your photographic chemicals into the three trays: developer, stop bath, and fixer (these chemicals should be available at the Lomography Online Shop). Turn off the lights and switch on the red flashlight. Remove one sheet of photographic paper and carefully center it inside the picture mat. This mat will provide a white border around your final enlargement. Place the mat/print sandwich on a flat surface directly under the down-turned Konlarger lens. Turn on your electronic flash and…wait.

Step 10. Take a deep breath, you are about to make a real photographic enlargement from your Konstruktor. Can you believe it? Trigger the flash, develop the print, run it through the stop bath, fix the silver halide photographic process, and wash the print in running water. All chemical times and temperatures are thoroughly discussed on a technical information sheet that should be packaged with the photographic paper.

Be very patient and keep accurate records and you should get a great enlargement from your Konlarger. There are four issues that could give you trouble:
1. Light Source. Every electronic flash is different. Not all will work with the Konlarger. You might have to try several flashes before you get a good match. A Vivitar 125 Electronic Flash will work, however.

2. Focus Setting. All adjustments with the Konlarger are blind adjustments. This means that you will only be able to check your focus after processing your print. Unless your electronic flash has a modeling light (with an appropriate red-colored filter), you will not be able to flick on a light for focusing the negative on the photographic paper. This is a “trial-by-error” process. For example, it took me three “test” prints to get my final Konlarger print. Once you’ve determined this focus setting, however, the tripod’s height and lens setting should be applicable to all of your future enlargements.

3. Exposure. The strength of your electronic flash (its guide number) will effect your print’s exposure. For example, my Vivitar 125 takes 9 discharges for creating a final print. Your discharge times and flash might be different. Keep accurate records of exposure times, light sources, and focus settings and your Konlarger will become your personalized photographic enlargement lab.

4. Soft Light. Due to the diffused tissue layer on the electronic flash, your enlargements will have a “soft” look and feel to them. This effect might not be problem with some high contrast negatives, but thin negatives could produce awful enlargements. Don’t be tempted to use a “bare” electronic flash head. The flash’s tube and lens screen will actually be visible on your enlargement.

Once you get the hang of this unusual setup, your DIY Konlarger could become as useful as the DIY Konstruktor, itself. For example, by keeping one Konstruktor configured as a full-time Konlarger, you can easily create an 8×10-inch enlargement is less than one hour.

Don’t stop with conventional enlargements, however. Attempt photo montages (e.g., laying items on top of the photographic paper) with your base enlargement. Likewise, double exposures are easy with the Konlarger setup. Just remember that you will have to remove the undeveloped photographic paper and temporarily store it in a light-proof container, while you load and setup your second negative. Then return the previously exposed paper to your picture mat and make the second exposure.
If you create your own Konlarger and upload digital copies of your photographic enlargements to your Lomo Home, please be sure to tag each enlargement with “Konlarger.” That way we can all admire your handiwork!
The Konstruktor is the world’s first Do-It-Yourself 35mm SLR camera. With it, you can easily build your very own camera from scratch. It’s the perfect tool for having fun whilst learning the exciting mechanics behind how analogue photography works. Get yours from the Online Shop or Lomography Gallery Stores Worldwide. Find out more about the camera on the Konstruktor Site.
geschrieben von themindseye am 2013-10-03 in #Ausrüstung #Anleitungen #diy #tutorial #35mm-film #tipster #development #darkroom #enlarger #konstruktor #konlarger #enlargements


10 Kommentare