How to turn almost anything into a Pinhole Camera
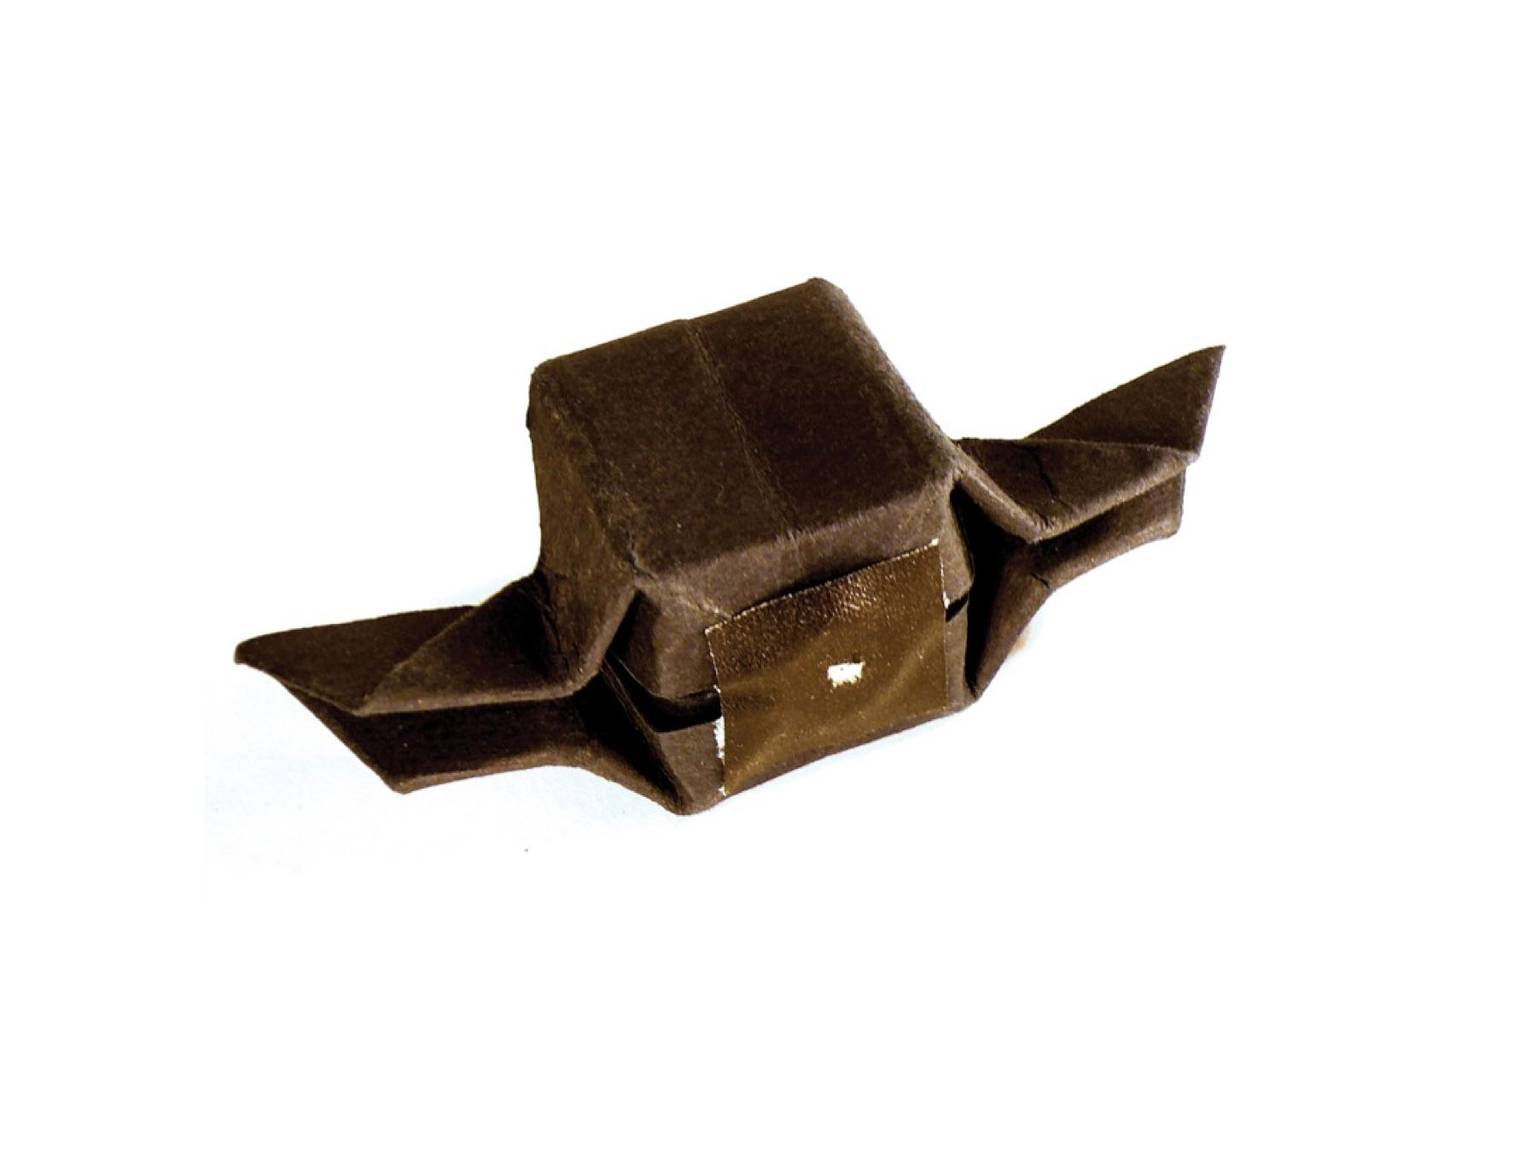
1 36 Share TweetBefore starting, lift your eyes from this article and look around. You are surrounded by boxes. Real boxes. Also the room is a box, although you still haven’t realized it. Houses are big boxes. Bottles, cans, wardrobes and closets, teapots, pumpkins, eggs and… you. Boxes. Everywhere. Now, choose a box. This box will be your new camera.

The box (Paint it black)
Now you have to turn your box into a Camera obscura, a closed place in which no light is admitted. If you have been lucky, the interior of the box you have chosen is already dark enough. If you’re not, your new mission is to darken your box. Paint the inner faces all black and carefully close every hole, chink or crack. Don’t be shy with that black adhesive tape!
The Objective (yeah, the pinhole)
Done? Now that your box is dark enough, you must let the light in again, possibly from a very little entrance, the pinhole. This way, the light will be forced to bring an image of the outer world with her into the dark room. You need a hole as big as a needle’s tip. This little chink will be the entrance door for your gaze on the world.
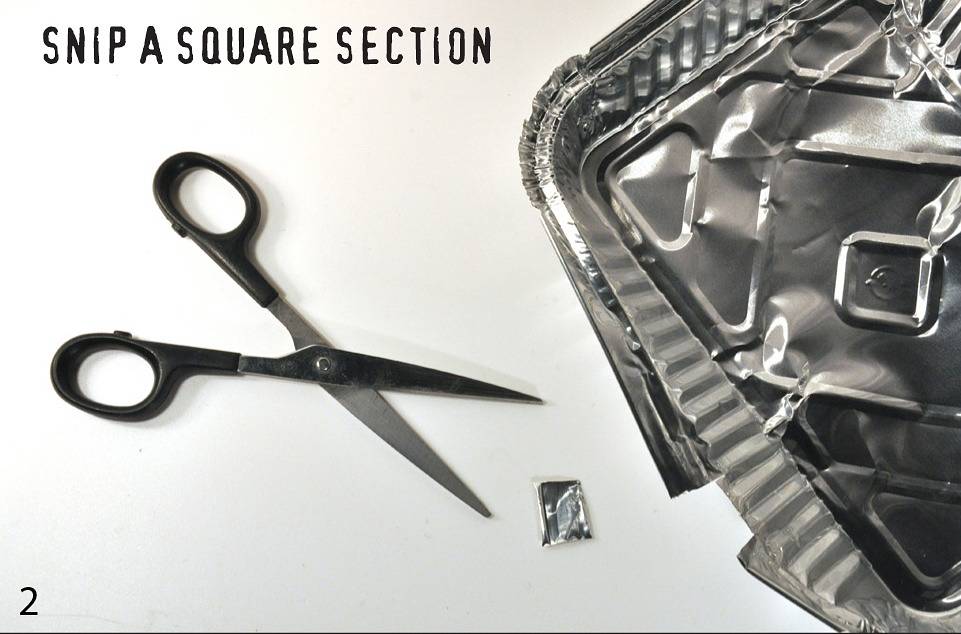
The more accurate the hole will be, the more defined the photos you’ll do. Your best chance is to make it on a thin metal plate and apply the plate on a bigger, imprecise hole you’ve done before. To fix the plate on the box use (a lot of) black adhesive tape. You can find 0.2mm (0.08in) brass plate in a good hardware shop, but you can also rely on anything similar you’ll find at home (oven’s aluminium, tea candles’ bottom, etc…). The thinner the plate you’ll pierce, the lower will be the framing. Apply the pierced plate to the camera and you’ll have an objective to be proud of.
There are a lot of ways to make the perfect hole. This is one:


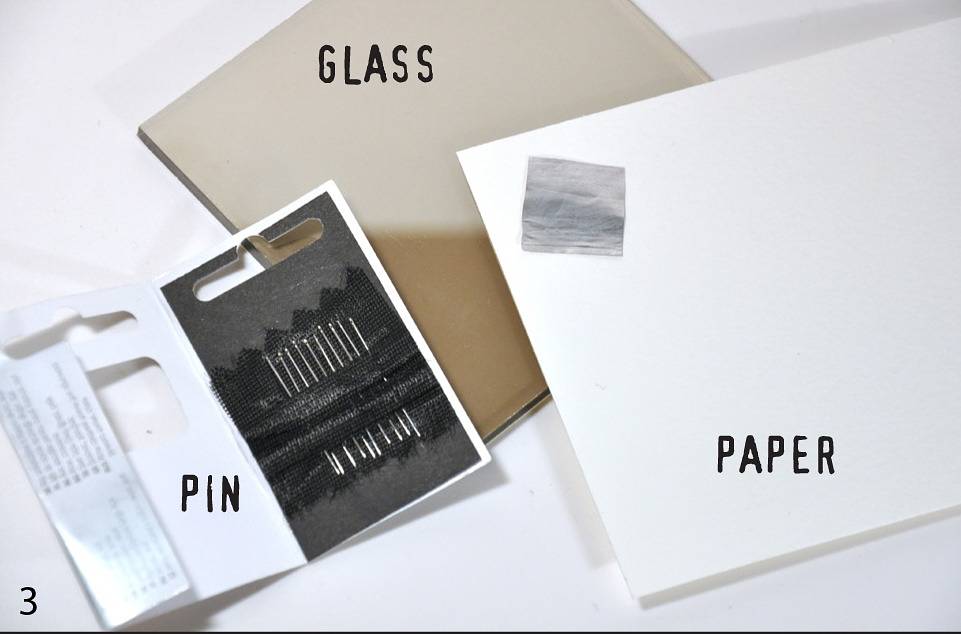


Put the very thin metal plate on a paper sheet and place the sheet on a hard surface (glass, marble, stone…). Take a needle and pierce the plate. Turn and roll the needle, in order to make a perfectly circular hole. The hard surface will prevent the needle’ stem from penetrating the sheet, letting the hole be very little and elegant.

With an abrasive paper or carpenter’s sand sheet clean the hole on each side, carefully caring to cross the direction lines of your cleaning movement. If you want, you can scan the hole in high definition, in order to verify how precise you’ve been and, using the photoshop ruler, calculate its dimensions.
If you wish a deep focus camera, you’ll need a bigger hole, so I suggest letting the needle’s stem penetrate the sheet, always turning and rolling it. (i.e.: for a 2,5cm – 0,99in focus, the perfect hole is 0,2mm – 0,08in. For a 12cm – 4,73in focus, a 0,4mm – 0,16in hole is good. And so on).
The light-sensitive material (The film)
Now that your box can provide accommodation for the light, you need something to catch her and keep her captive. What you need is light-sensitive material. You can load the camera with photographic paper or find a way to load a film. If you have a darkroom you can use photographic paper and shoot your photos on it. All that you have to do is to apply the paper on the bottom of the box, right in front of the pinhole. Your photos will obviously appear in negative. You can turn them positive in a darkroom just as with photoshop.
If you do not have a darkroom, you can mount a film, but you’ll have to solve a problem: how to forward the film? I suggest you two simple ways to do this – One way for the 35mm film and one for the 120mm:


35 mm film: Uncap an empty film-case using a pair of pliers or pincers or a bottle-opener. Take the internal reel and stick on it (with a tape) the starting lip of the film you want to use. Now you can put the reel back in its protective case.


120 mm Film: Half an empty film-case and stick two metal plate rectangles to the bottom of it. You’ll need them to block the film and the call-back reel. The metal plates should be quite hard. You can also use hard plastic sheets. You can use the halves of the case you’ve cut to envelop and protect the film.
Now try this at home (The end!)
Now you should rely on your fantasy to create a shutter that you’ll use to adjust the exposure time. You can divide the interior of the camera in rooms that will prevent damage to the film. Don’t be afraid to use small, big, gigantic and microscopic boxes. When I said you can turn anything into a pinhole, I meant anything! You can also use more than a hole (and more than a shutter) or put the paper (the film) in strange positions. Soon you’ll become confident enough to break every rule and cross all the limits (whilst always respecting the law).
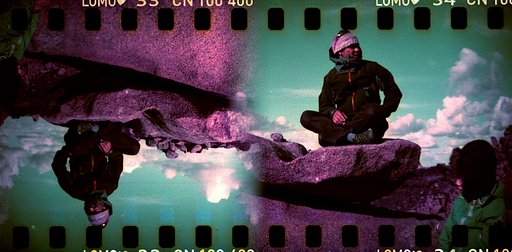
Now that you have your personal pinhole camera just use it. Good luck and please: pinhole the world!


See my pinhole photos in my LomoHome and on my website www.francescocapponi.it
geschrieben von francescco am 2011-04-23 in #lifestyle #diy #pinhole #camera #day #world #make #how #to #francesco #capponi #francescco


Ein Kommentar