Beat the Blues: Making Cyanotypes
7 65 Share TweetCyanotypes are fun and easy and are the perfect way to begin your exploration of alternative and historical photographic processes. The chemicals involved are inexpensive and relatively safe and most of the preparation can be done under normal room lighting. So what’s not to like? Let’s beat those blues!
Many places sell readymade cyanotype kits or even pre-sensitized paper (remember SunPrint?). Look for them online or at photo shops that cater to analog photographers such as Freestyle Photographic Supplies in Los Angeles or Bostick and Sullivan in Santa Fe, New Mexico. It’s by far the easiest way to go but if you are more adventuresome and want to do it yourself then I’ve got you covered there, also.

You need four things to make a cyanotype:
1. Sensitizing solution; either in a kit or mixed yourself.
2. A medium; usually smooth, 100% rag paper but you can also use cloth, wood, or your neighbor’s dog.
3. A suitable negative. Suitable means big—35mm or 120 just won’t cut it. The negative should have a full range of densities—flat negatives also won’t cut it.
4. A contact print frame. (A piece of glass a little larger than your negative will do or you can make one using a photo frame, some foam core board, and some spring clamps.)
5. Oops! There’s a fifth one: a UV light source. The sun will do nicely for this.
Let’s take them step by step.
If you buy the kit (hint: buy the kit first time around) then just add distilled water to the 2 bottles in the kit and shake until the contents are dissolved. If you do it yourself; get a scale, mixing rod, beakers, storage bottles, and chemicals together. Then measure and add 20 grams of ferric ammonium citrate to 100 ml of distilled water and mix until dissolved and decant into a brown glass bottle. This is solution A. Next add 8 grams of potassium ferricyanide to 100 ml of distilled water and mix and decant that into a brown glass bottle. This is solution B. You can store them separately in a cool dark place for several months.


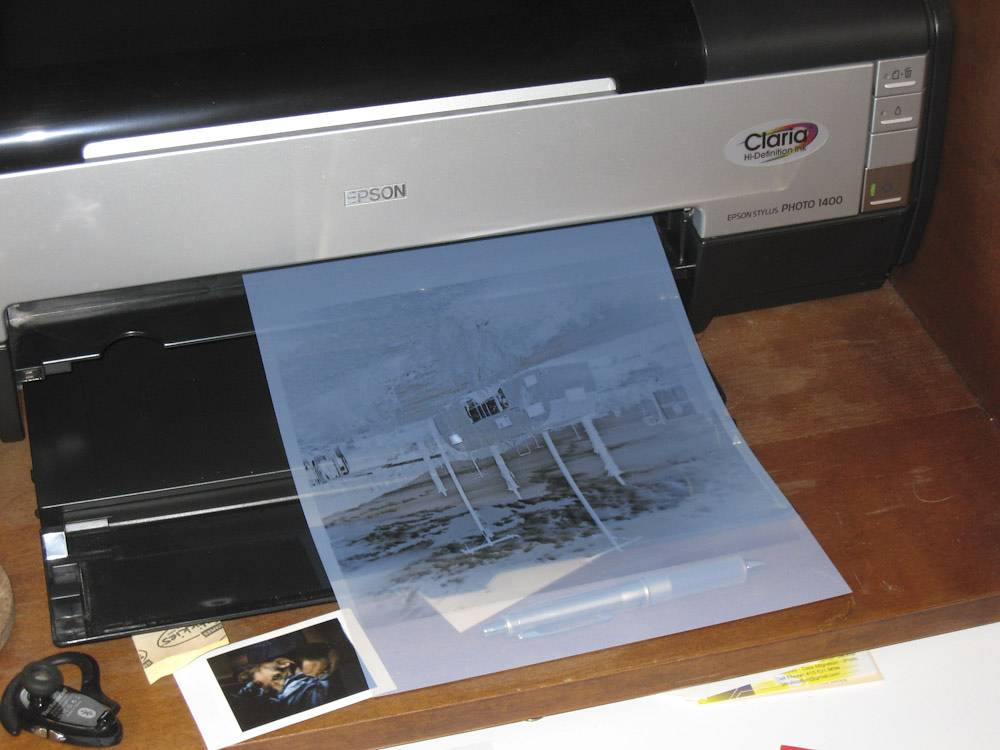
We are making contact prints here so the print comes out the same size as the negative you’re using so, unless you have a large format camera, you will need to make a digital negative. Whole books have been written on the subject but you don’t need to make a big deal out of it. Just get some Pictorico Premium Overhead Transparency Film (OHP). Then, open your image in whatever post production software you use and, if it’s not already in black and white, then convert it using your favorite method. (There are many ways to do this in Photoshop; some better than others—but that’s a subject for a whole other tipster.) Once you have a black and white image and have adjusted the levels, brightness and contrast to your liking, invert (or reverse) the image. Using an inkjet printer, print the reversed image onto the OHP film at whatever size you want the final image to be and you are done. (After you gain more experience exposing and developing cyanotypes you’ll likely wish to adjust the tonal values a bit and reprint the negative.)
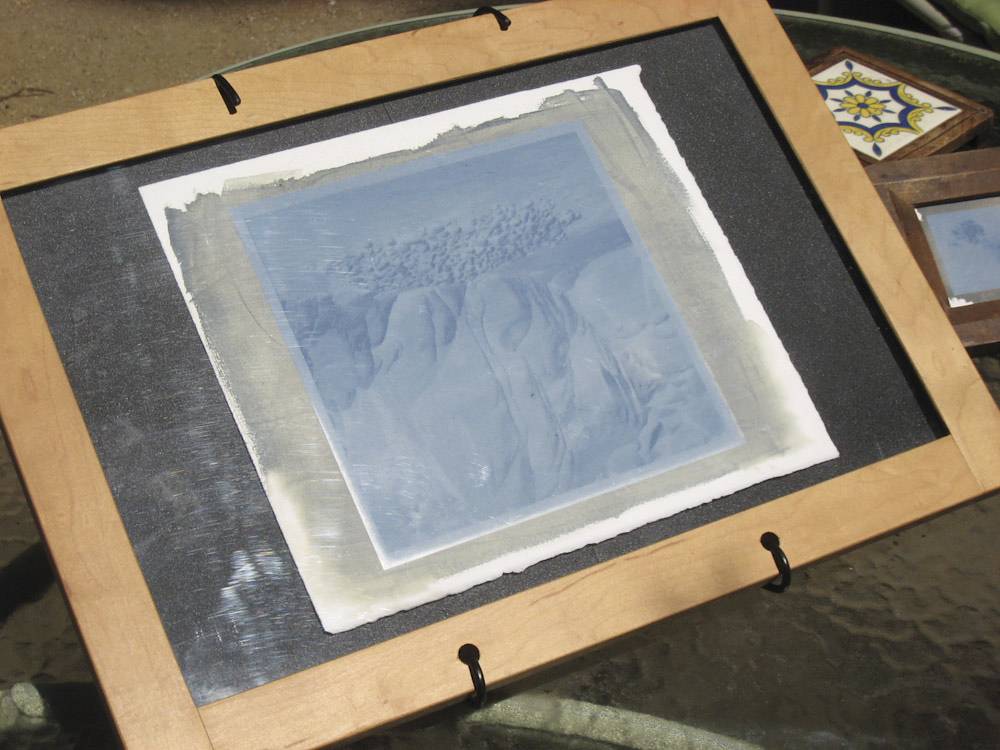
A cheap contact print frame can be made using a picture frame with glass, some foam core board or plywood cut to fit inside the frame and some clamps to clamp it all together. You can also just use a piece of glass or Plexiglas. Whatever you use, you want to end up with the negative, emulsion side down, on top of your dry, sensitized paper and both pressed underneath the sheet of glass. So that’s negative and paper, emulsion side to emulsion side, underneath the glass (this can be done under normal room lighting).


Expose the negative and sensitized paper in direct sunlight. The exposure will vary depending of the paper used, the density of the negative, and the amount of sunlight amongst other variables. Where I live (in California) during the summer months, exposures run from 3 minutes up to 6 minutes. Winter months or northern latitudes can take up to 30 minutes. That’s why, especially early on, you need to be able inspect your print as it’s being exposed. You’ll notice in the accompanying photographs that my contact print frames have hinged backs. That’s so that I can open up one side and lift the paper to check the exposure without losing registration between the negative and the paper. You can also tape one edge of the negative to the paper using clear tape if you’re not using a contact print frame. Obviously, check the exposure out of direct sunlight. The exposed image should be a little darker than what you want the final image to be. The darkest shadow areas may even start to reverse and become lighter, almost like a solarized photograph.
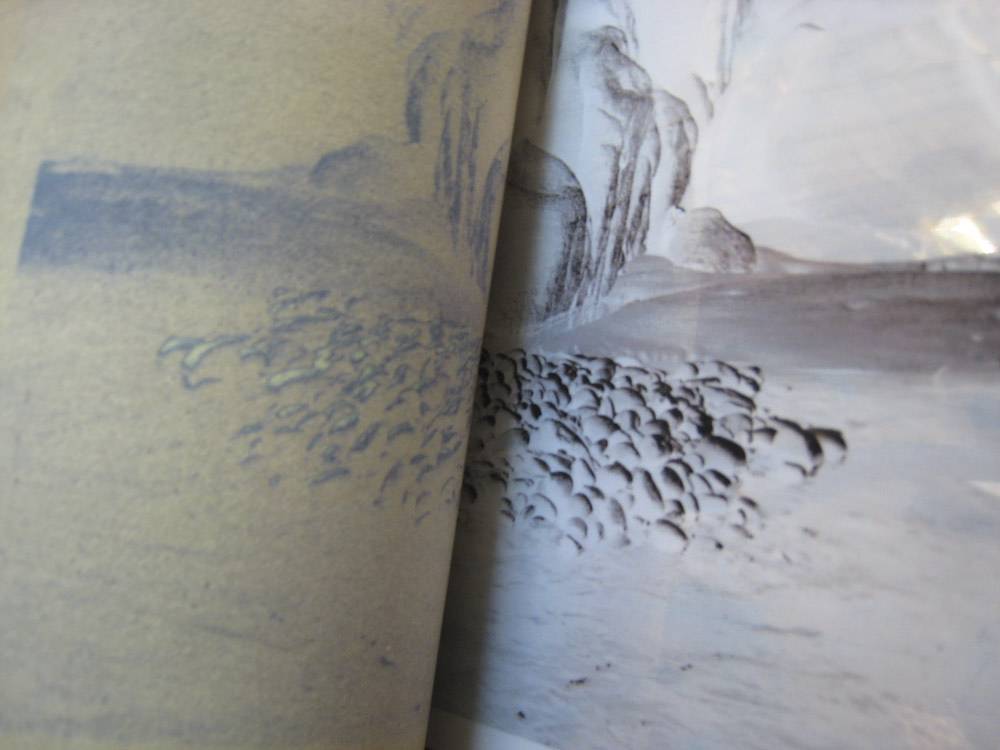
Development couldn’t be easier: just wash the print for about 10 minutes under slowly running tap water. The image will lighten and the blue stain will wash off of the highlights and may even seem too light. Set the print out to dry on a nylon window screen or hanging from a clothes line. As it dries, the highlights should darken a little a pick up more detail and the shadows lighten and pick up more details there also.


That’s it—you’re done! Pat yourself on the back and congratulate yourself in the knowledge that you’ve just made a print the same way it was done back in 1842.


geschrieben von kdstevens am 2011-09-05 in #Ausrüstung #Anleitungen #tutorial #tipster #hand-craft #large-format-contact-printing-cyanotype-blue-print-digital-negative-historical-process-alternative-process-photography-homemade-emulsion


7 Kommentare