LomoHacks: The Sprocket Rocket
20 30 Share TweetThis is the first in a series of articles by Alienmeatsack on how to make your Lomography cameras more thoroughly your own, along with expert tips for using them to their maximum potential. Stay tuned for more LomoHacks!

Hello all, and welcome to the first in a series of articles in which I am going to share my method on how I make my Lomography gear more personalized and ready to shoot based on my style. In these articles, I hope to show you some techniques to help you personalize your Lomography cameras, techniques that I use on many of mine. This especially applies to the "toy cameras" as they are sometimes called, which have much more limited focus, shutter speeds and apertures.
What you'll need:
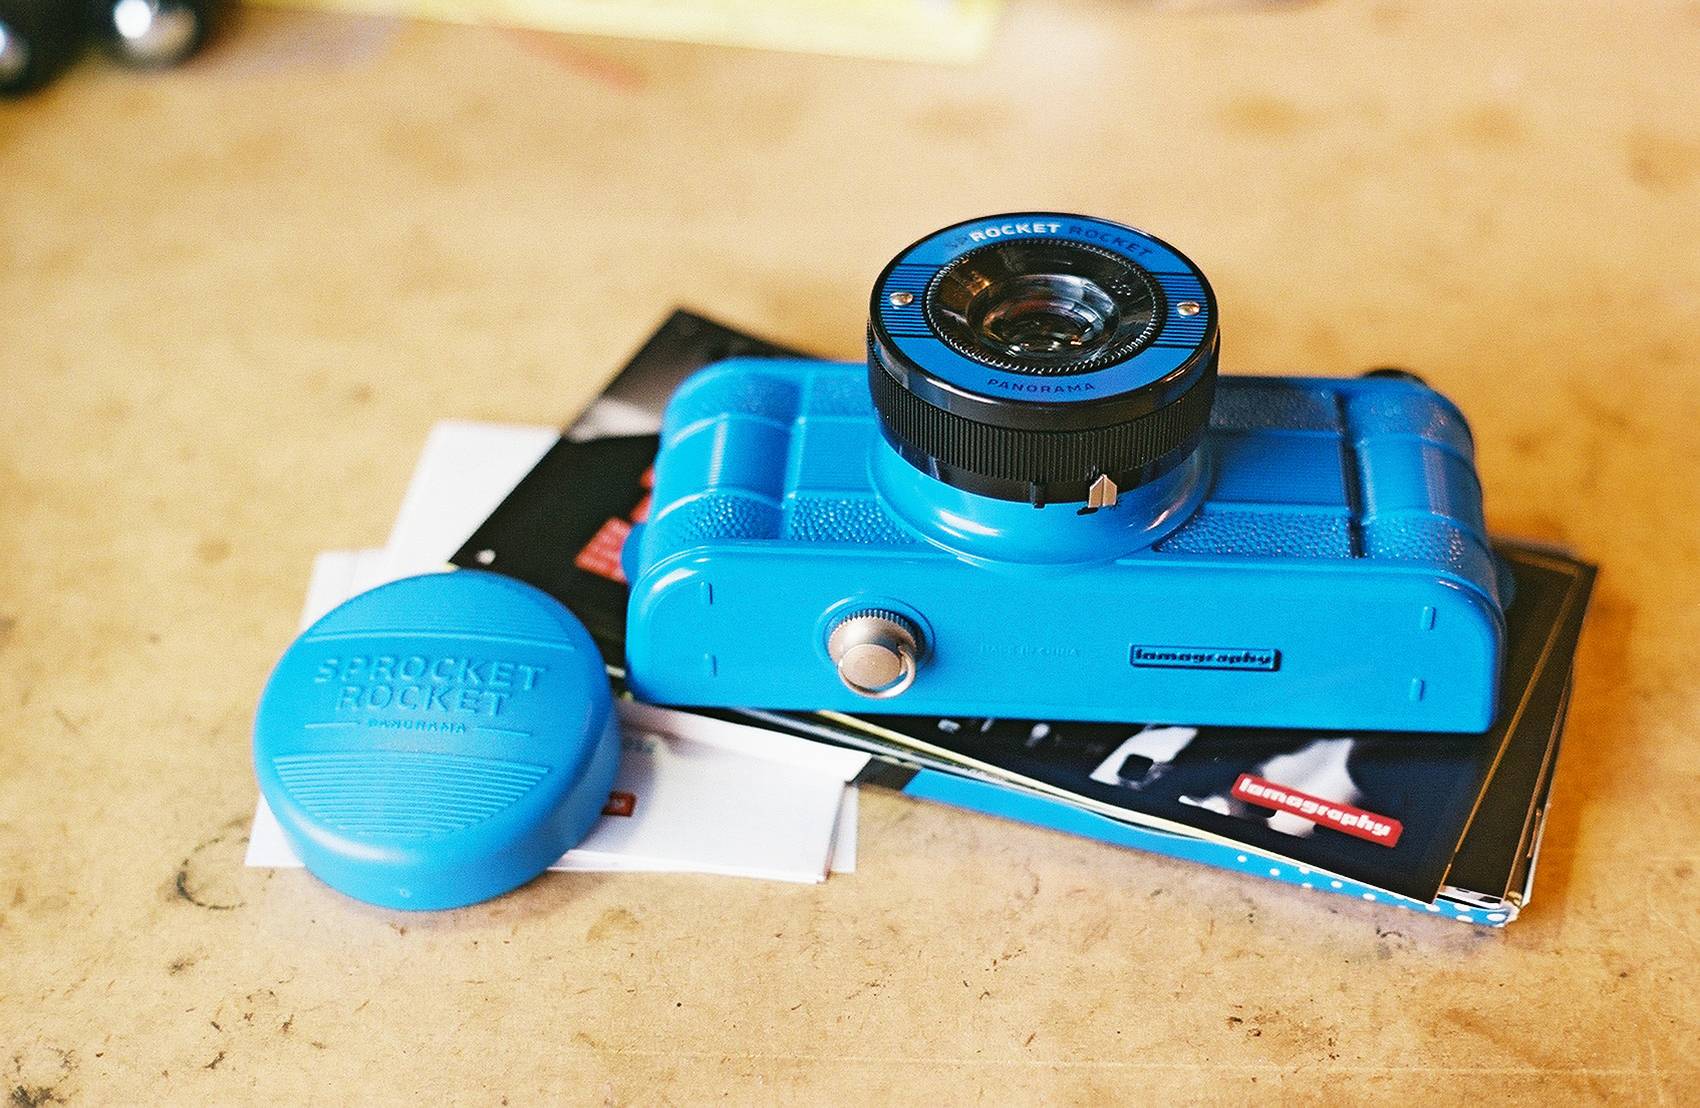
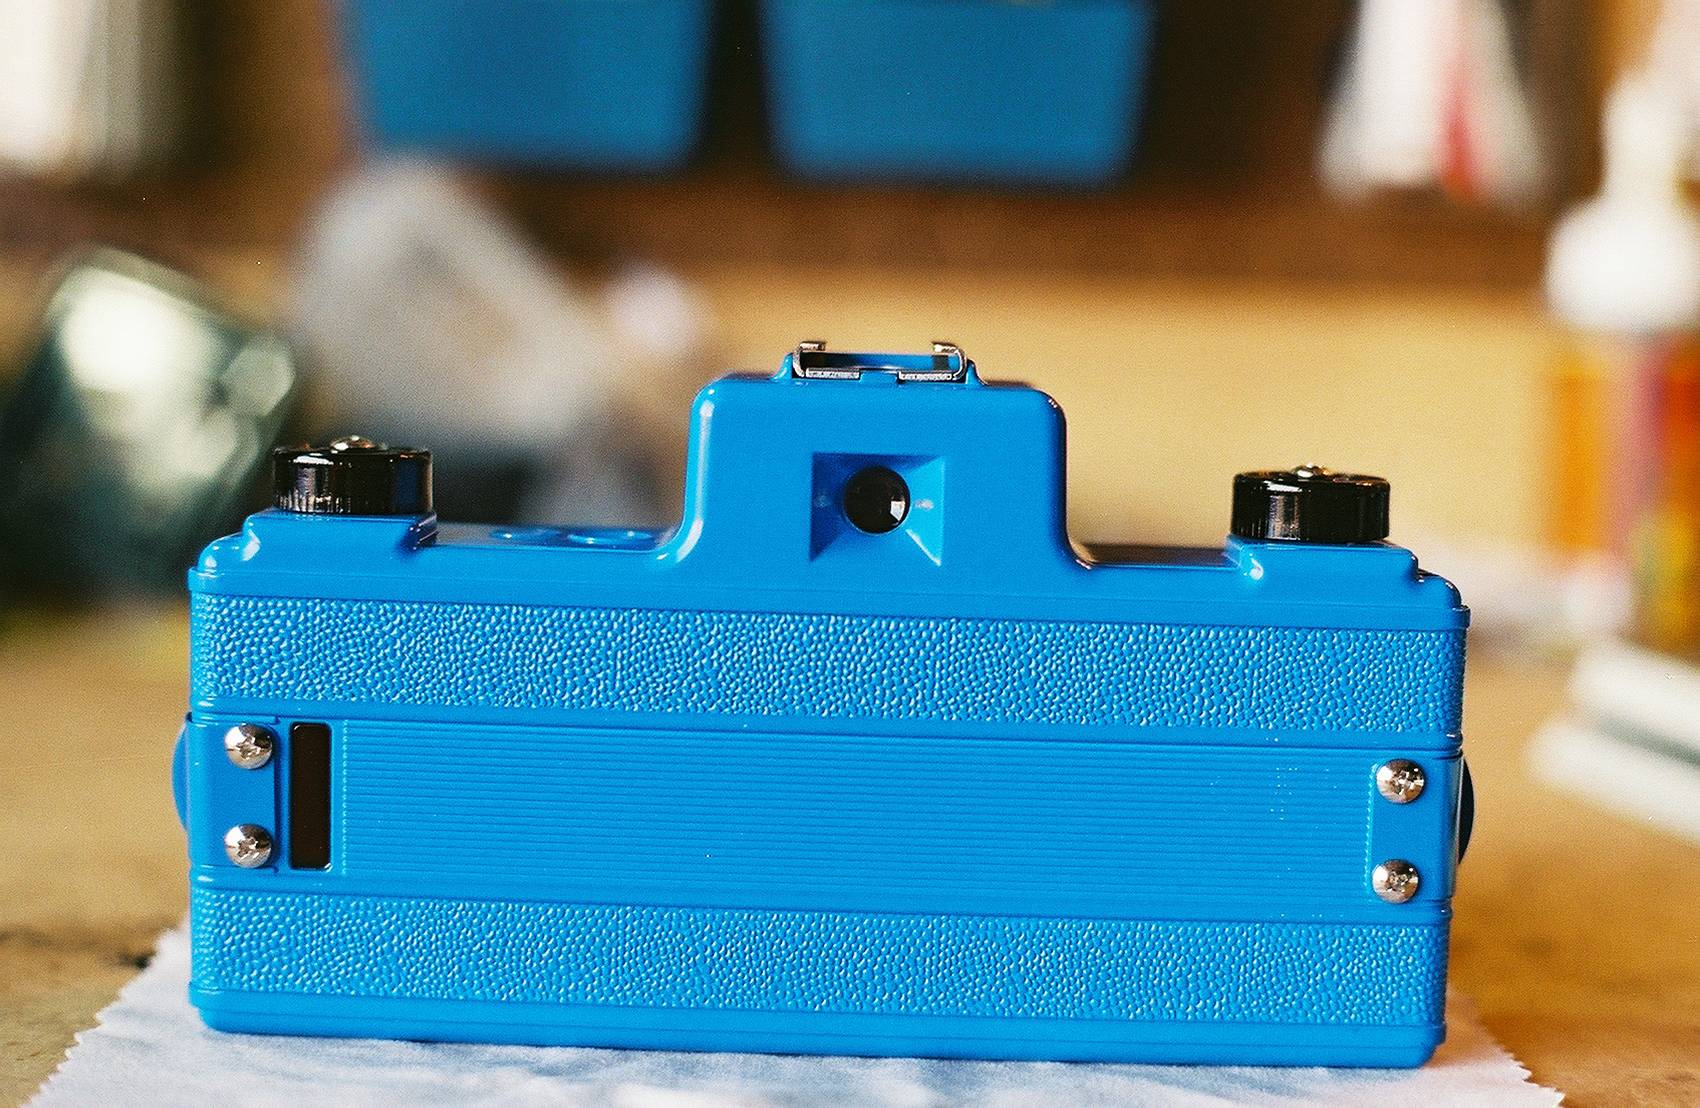
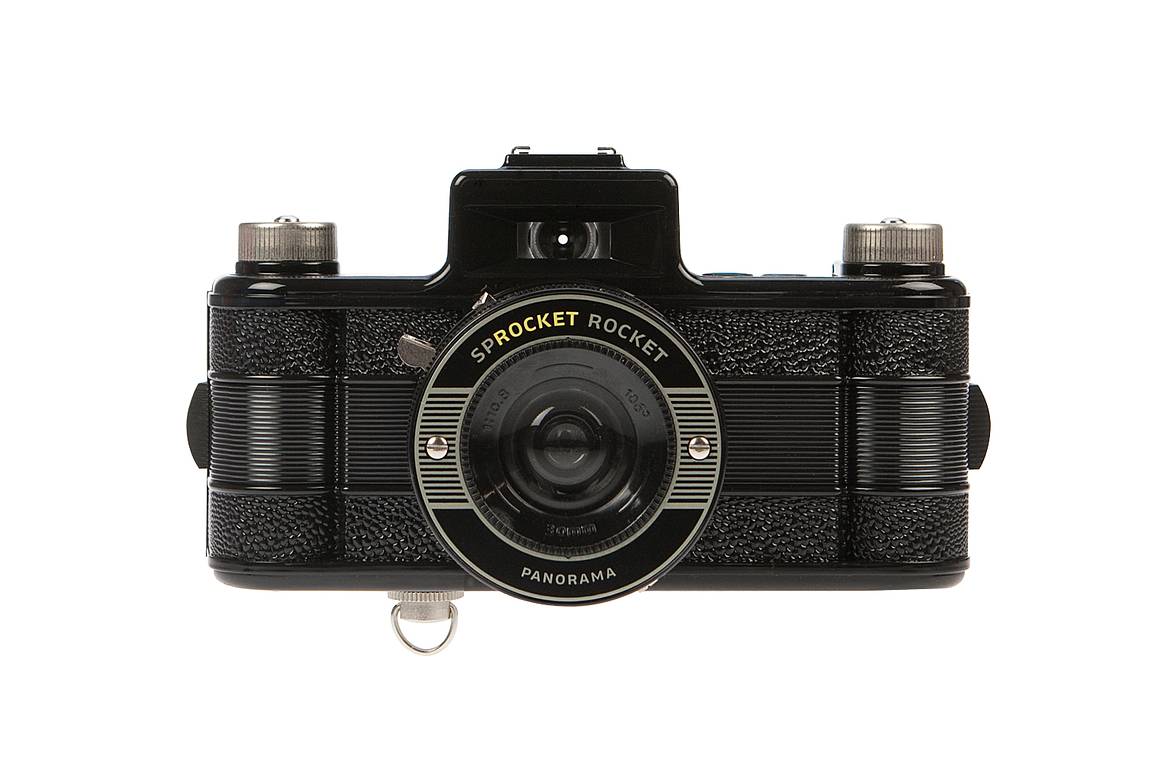
A Lomography Sprocket Rocket
A Sharpie or similar permanent marker in silver or white
Some painters tape or a straight edge
A sharp knife capable of cutting plastic cleanly
30 or so minutes of your time
Optional items:
Lens cleaning wipes
Lens cloth
Q-Tips or similar cotton swab sticks


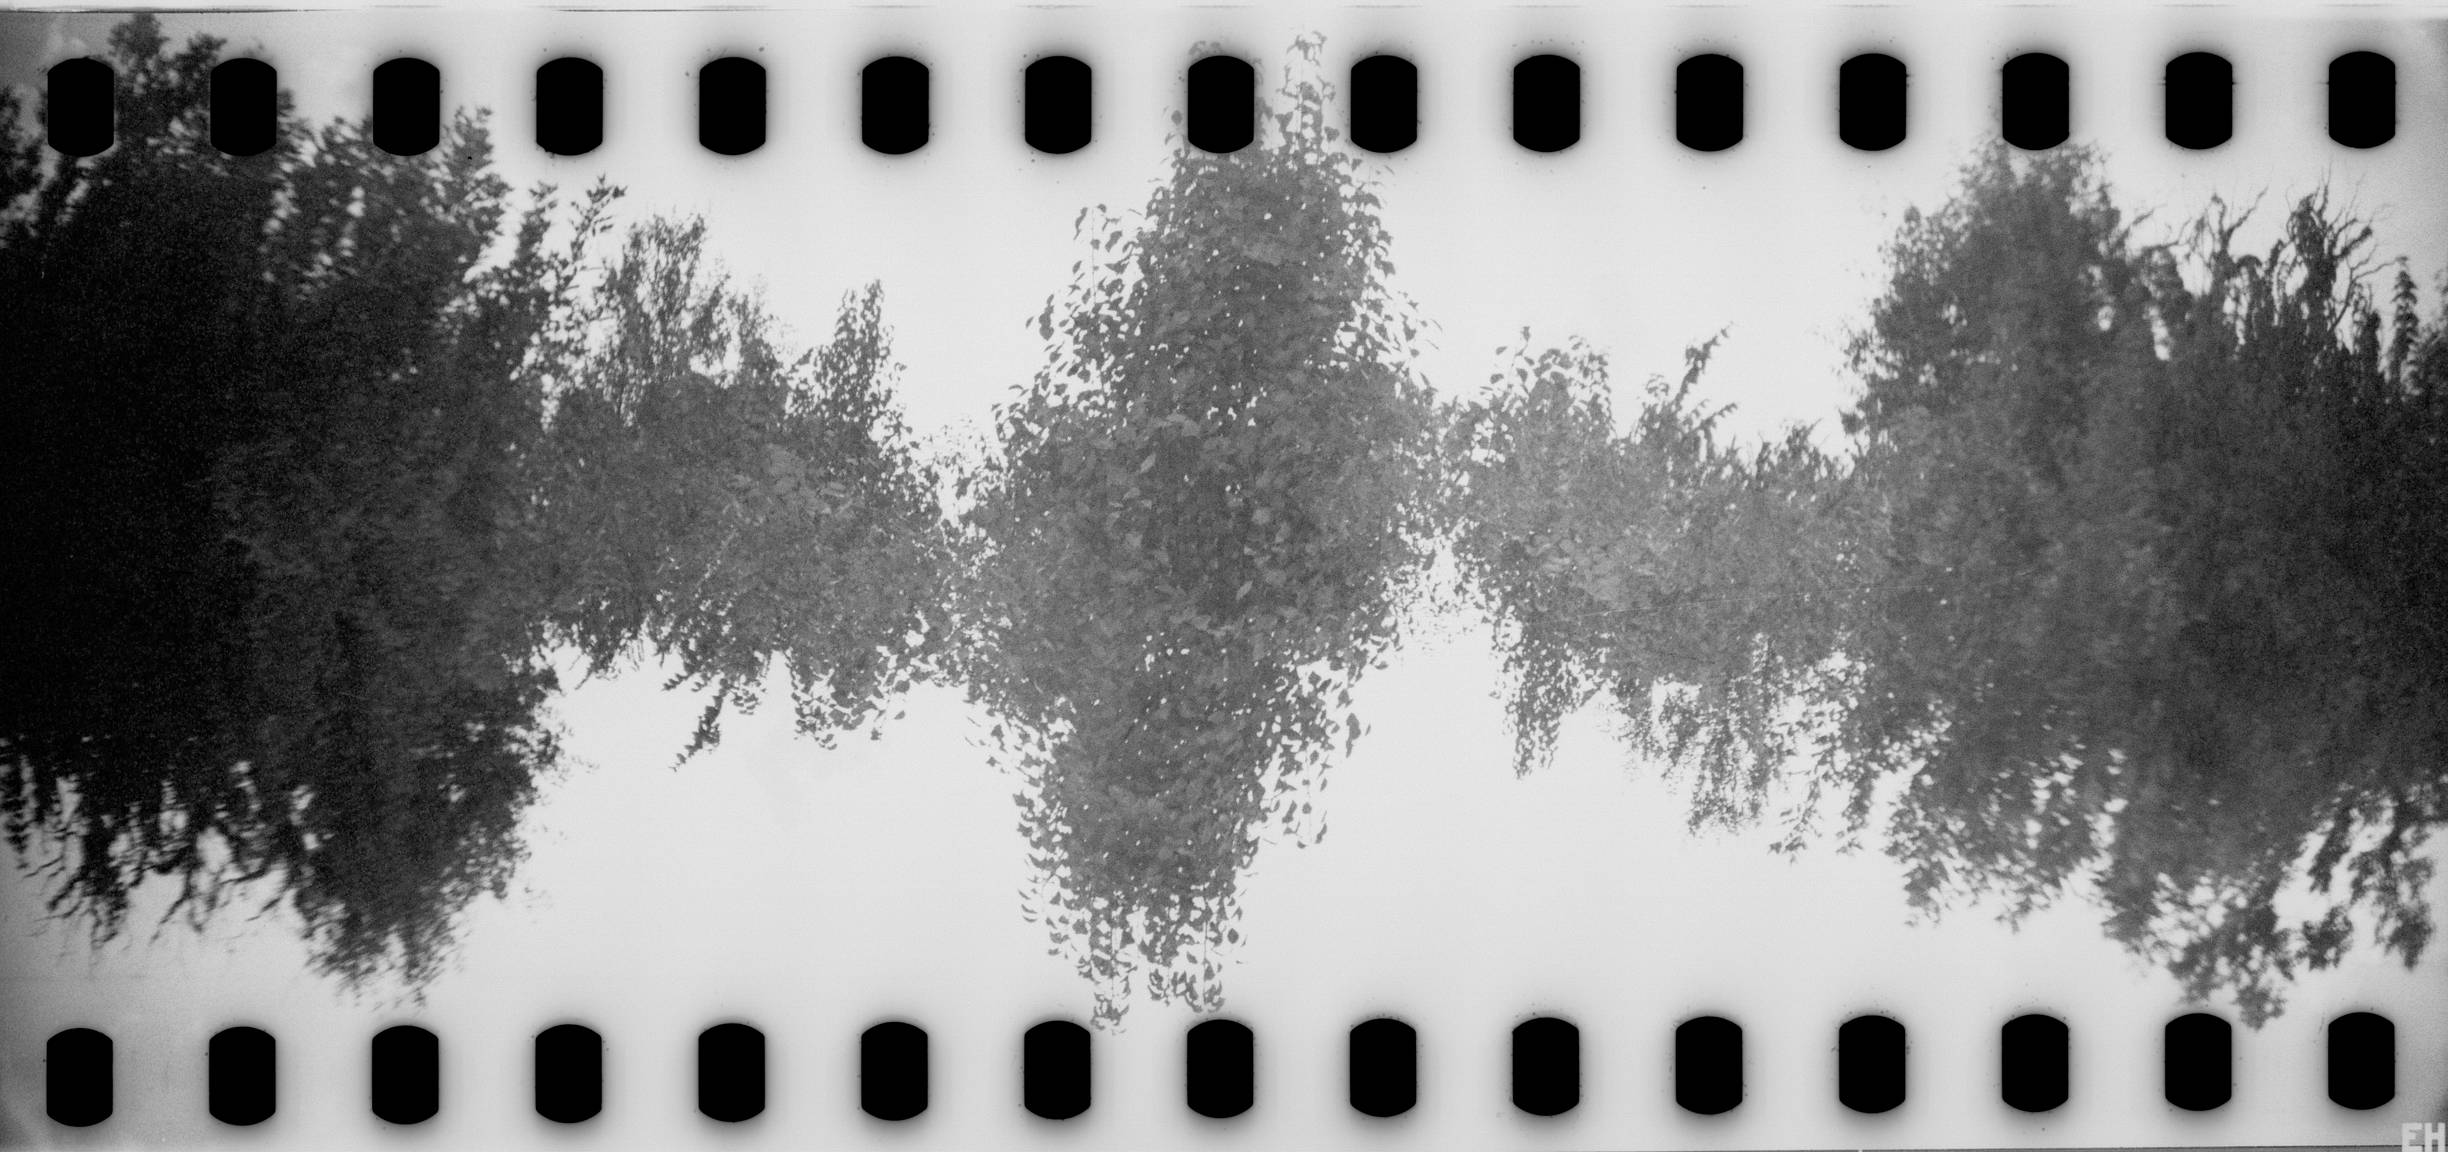
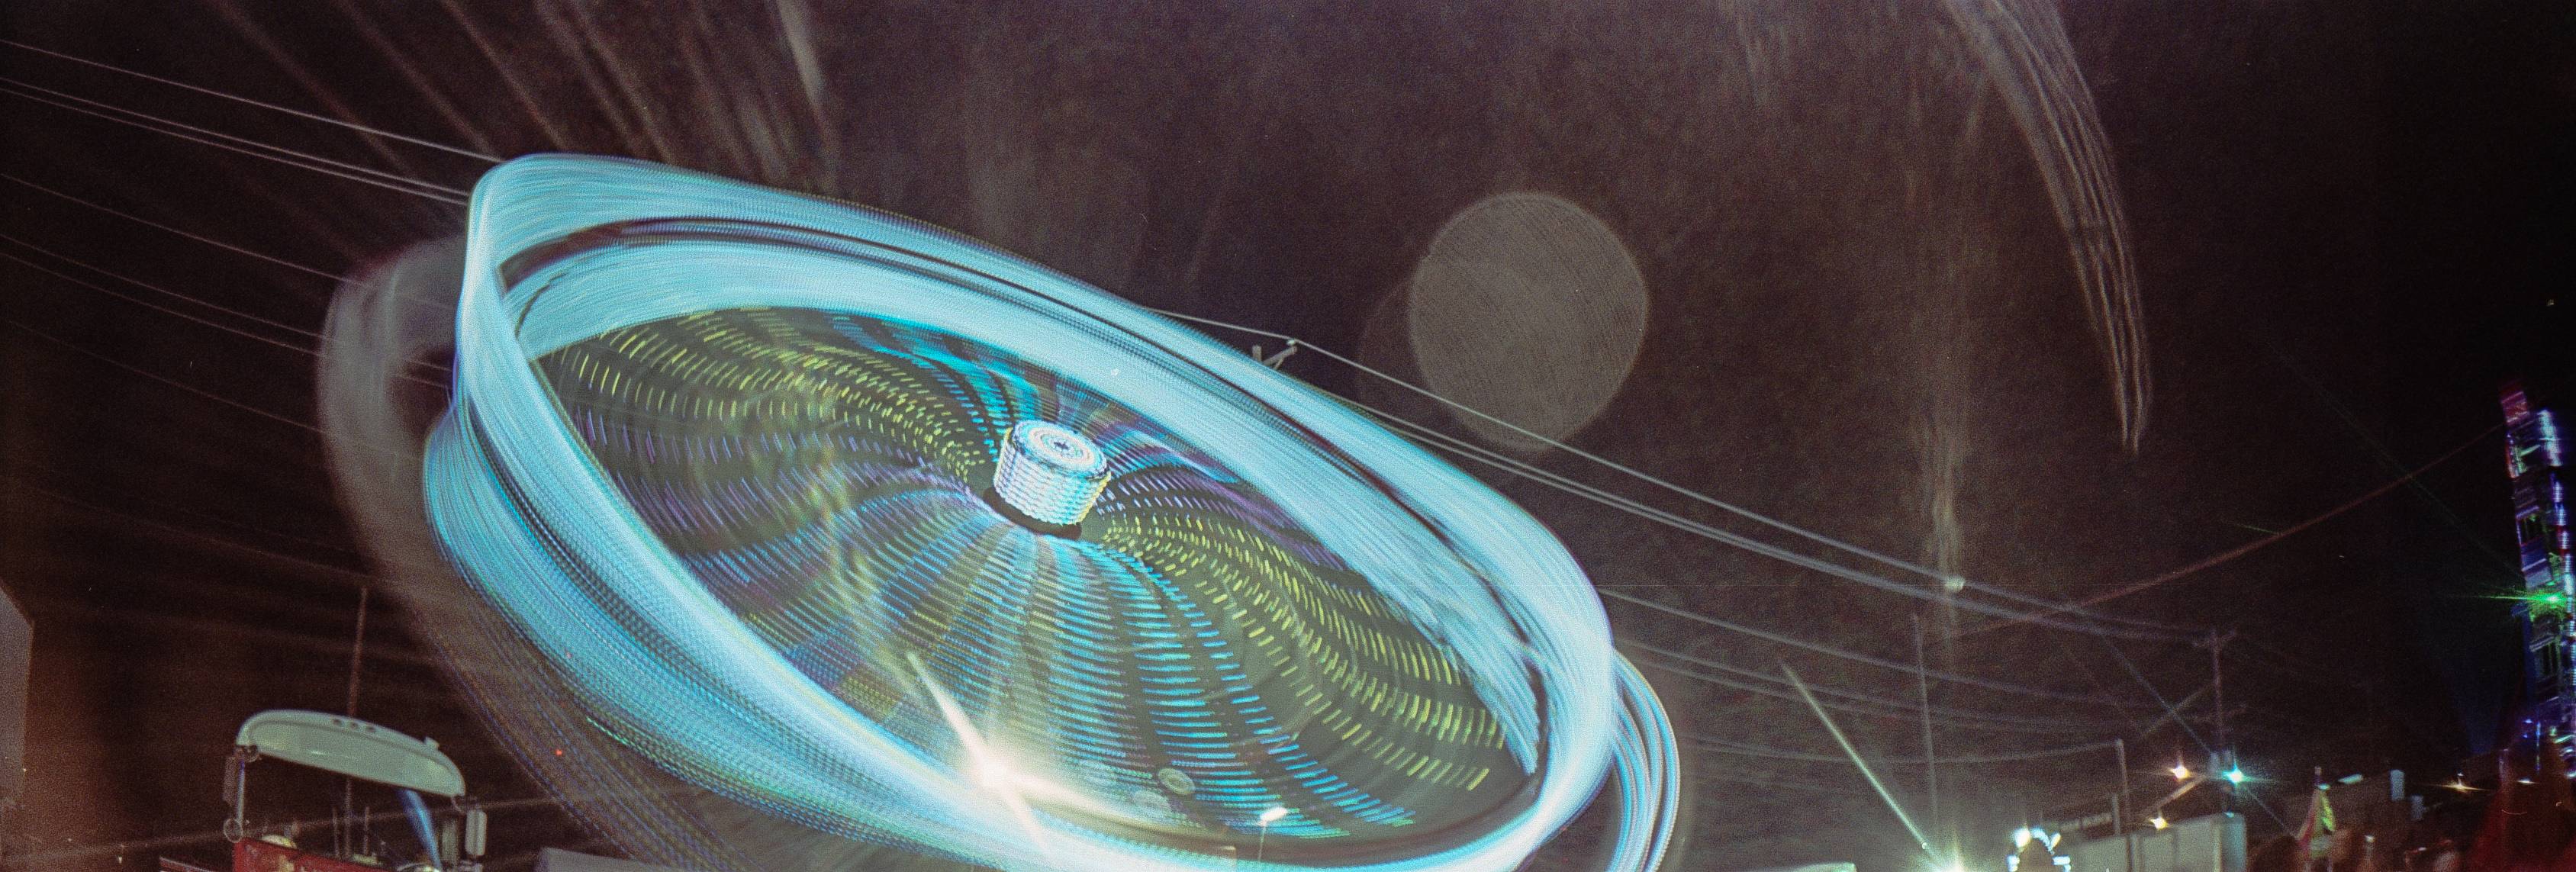
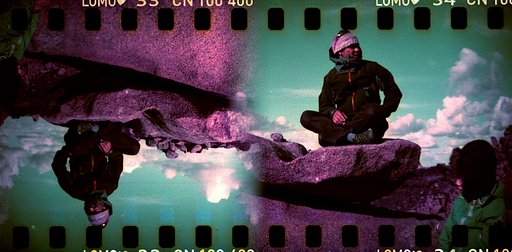
So, first off, let's talk about the Sprocket Rocket itself. This is easily my favorite Lomography camera with its super wide photos and those wonderful sprockets in the frames. It's also very easy to do doubles and experimental photos with. And since each Sprocket Rocket is a little different, be it the lens, shutter speed or apertures, those differences will help you create even more unique and interesting photos. I personally own 2 Sprocket Rockets because of this, each takes a little different looking image due to these lens and shutter speed differences.


Now that we have our gear, let's get started. First off, let's remove that sprocket mask and put it aside. You are shooting a Sprocket Rocket here, so keeping the sprockets doesn't hurt anything since you can crop around them if you wish. What's the fun in using a sprocket capable camera if you mask them?

This is an easy step that brings your Sprocket Rocket into sprocket shooting territory. After all that is what it was designed to do.
To remove it, just unsnap it from inside the camera and put it aside. I recommend sticking it into a container or zipper baggie and labeling the bag so you know what camera it came from, just to be safe. You won't need this mask again, but keeping it is always good just the same.


Next up, let's remove that lens cap. The first rule of shooting with any camera that doesn't have a viewfinder through the lens is to remove the lens cap. If you forget its there, you might shoot a whole roll with it on. Oops!


Put the lens cap aside as we are going to use it in a bit.
Now, let's get our Sharpie or similar permanent marker out so we can start making marks that will help us shoot, align film and do doubles.


The first thing I mark is the shutter speed and apertures on the bottom of the camera. For the Sprocket Rocket, it's main shutter is about 1/100th of a second and it's Bulb mode is as long as you hold it, so there's no need to mark the Bulb mode. Its apertures are Cloudy = f/11 and Sunny = f/16. Remember, each SR is different so yours may vary a little. This is OK, its what makes having multiple copies of the camera so much fun.

I just write down the shutter and apertures on the bottom with the pen to remind me. Eventually you will just "feel" what speeds to use, but until then, these notes will help you remember. Plus if you loan it to a friend, they may not know what shutter speed to use. So a simple note on the bottom helps you and them. You can also use a label maker here if you like. And if your Sprocket Rocket isn’t black, a black Sharpie or permanent marker works well on the lighter colored bodies.
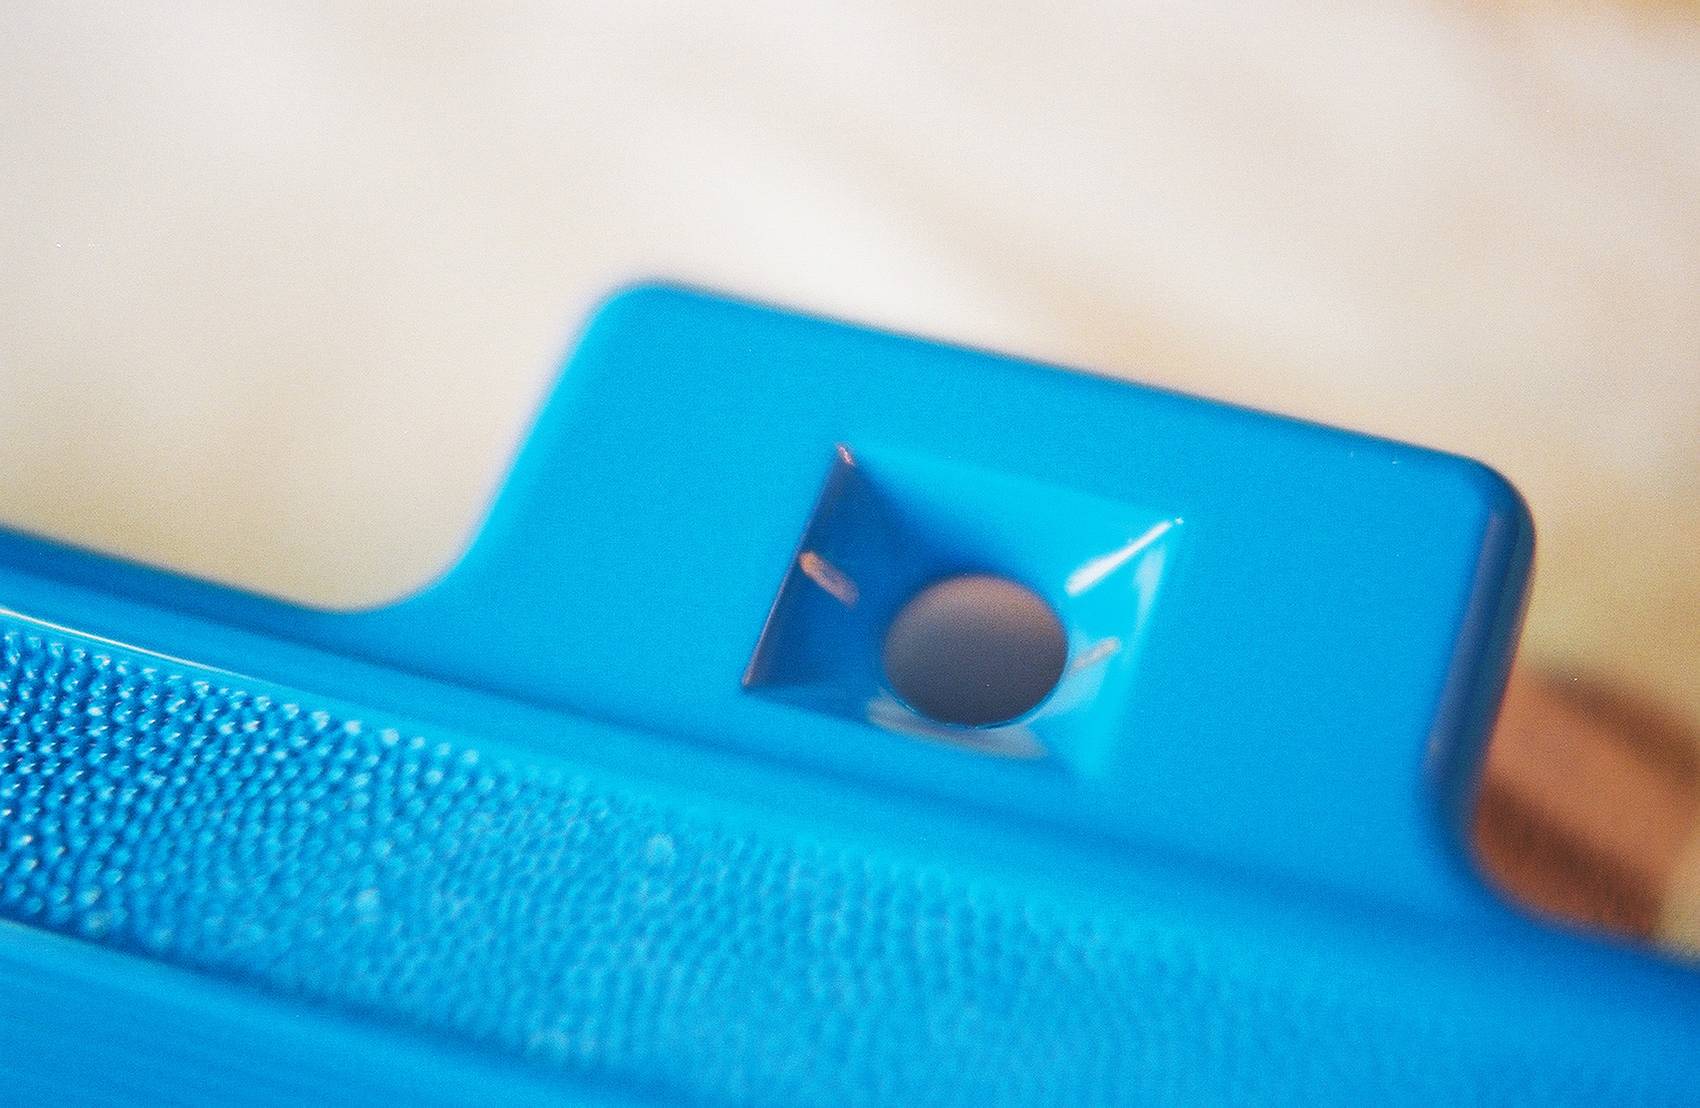
Now, let's move to the front of the SR where we are going to make a few of the existing parts more visible. Set the focus to distance first. I like to make a line mark on the focus dial to make seeing which of the two focus zones it's set to much easier to see. I’ve found that the focus tends to move when you put it in your bag, so a quick visual reminder helps you to see if its still at the right focus setting. Making this mark on the serrated edge of the lens is the most convenient and then with a quick glance you can see its at far focus. No need to mark the close-up focus since this line will move and point to close up focus when you change it as well.

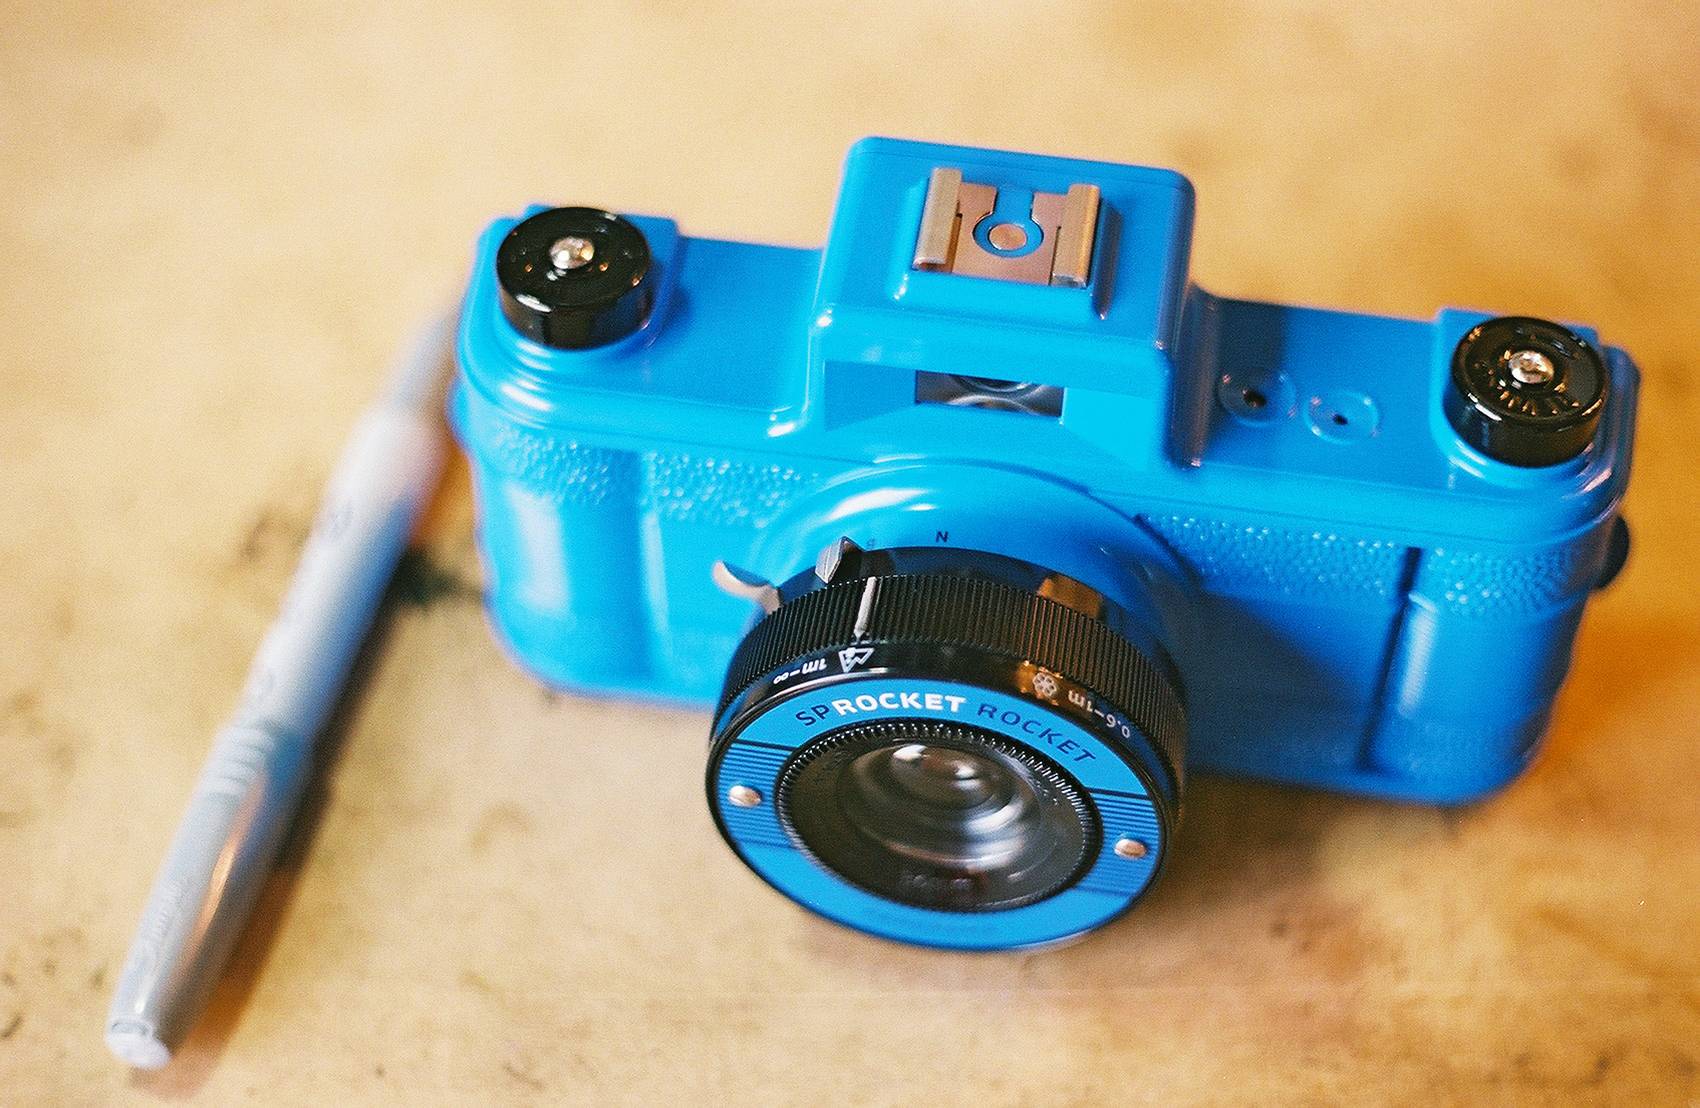
Then, let's also mark our shutter lever position so we know its on 1/100th and hasn't accidentally ended up on Bulb mode. Same as before, just mark a nice line where the shutter lever is at in "N" mode, so you can quickly see where it's set. I like to put this mark on the part of the body just under the focus lever's pointy part.


So, we're off to a good start here but there's more we can do. Let’s look at the top of the camera to the left of the viewfinder at the film advance dot. With the camera back off, using your fingers, advance this until the dot appears in the middle of the hole on the top. Then mark that dot so its brighter and more visible. I find that the dot is hard to see in certain situations so I really color it in. Don't worry if you get some marker on the area around it, it won't affect your ability to advance to the next frame correctly.


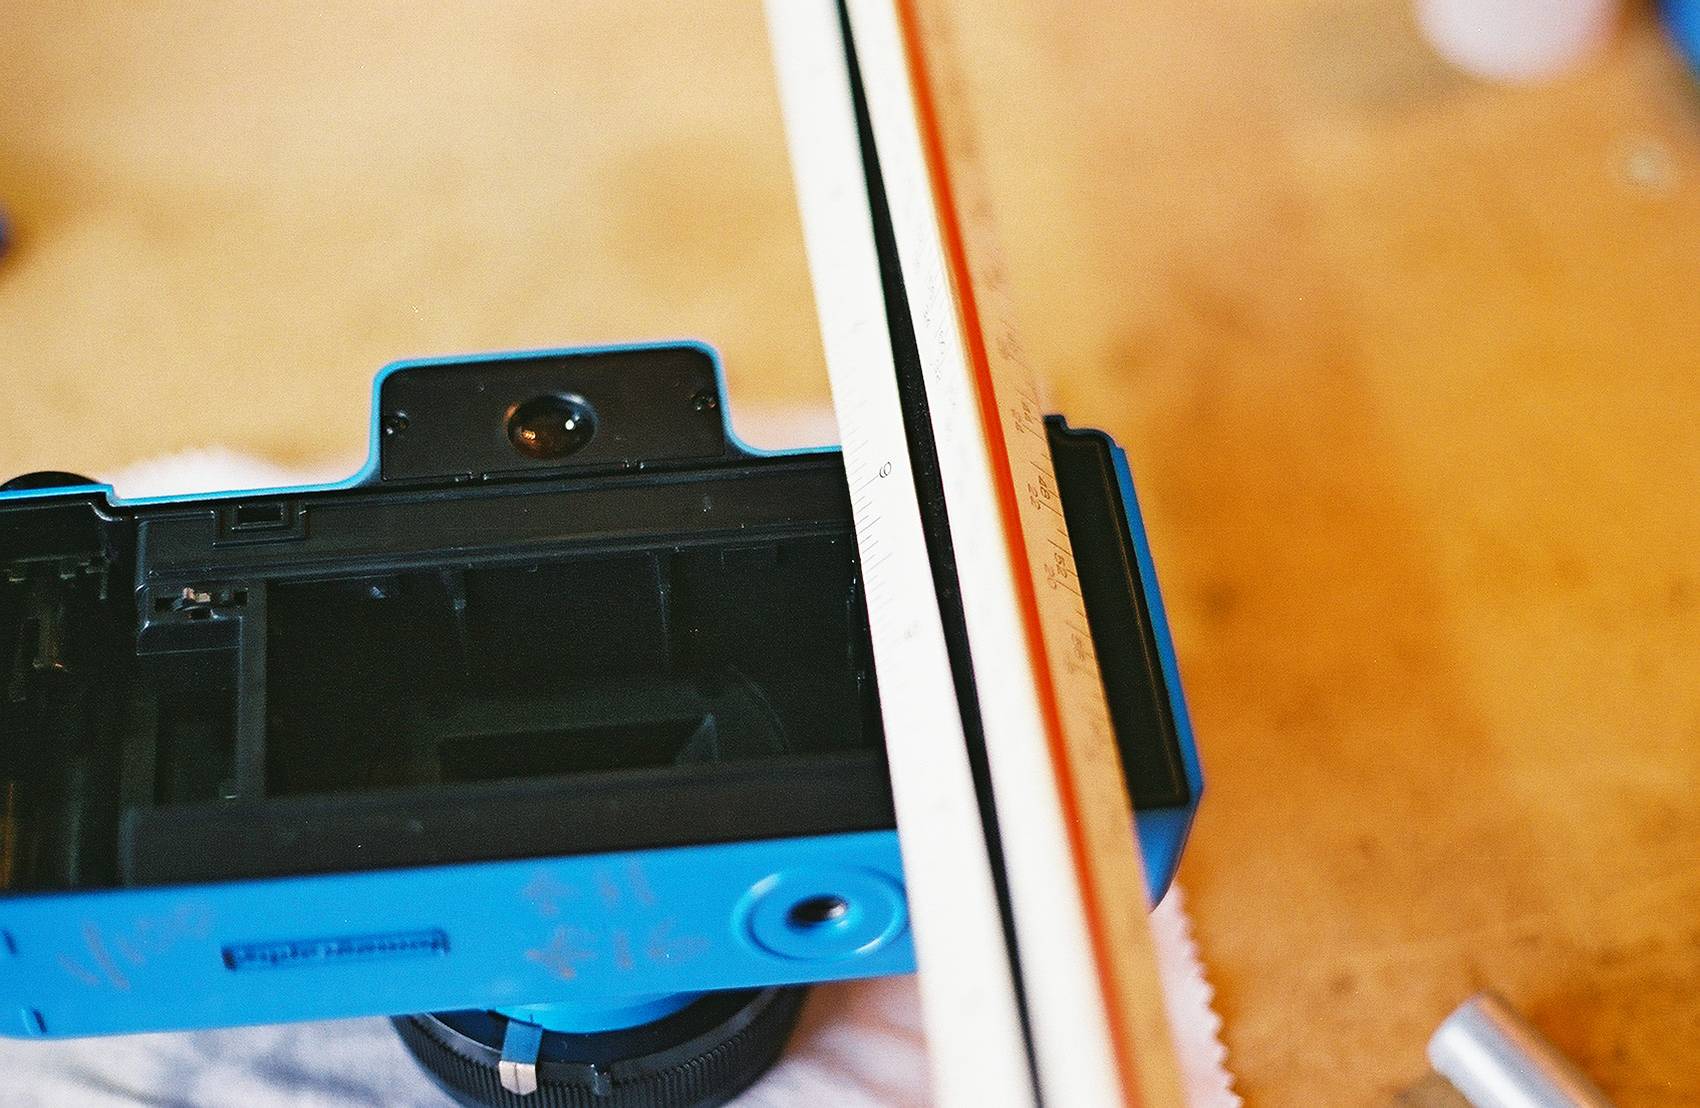
Our next task is going to be to mark the inside of the camera for aligning doubles. Simply open the back of the SR and using your straight edge or painters tape, mark the left and right edges of the frame, then draw a small line top and bottom there. These will help you align film for doubles, and act as a means to align film in general.

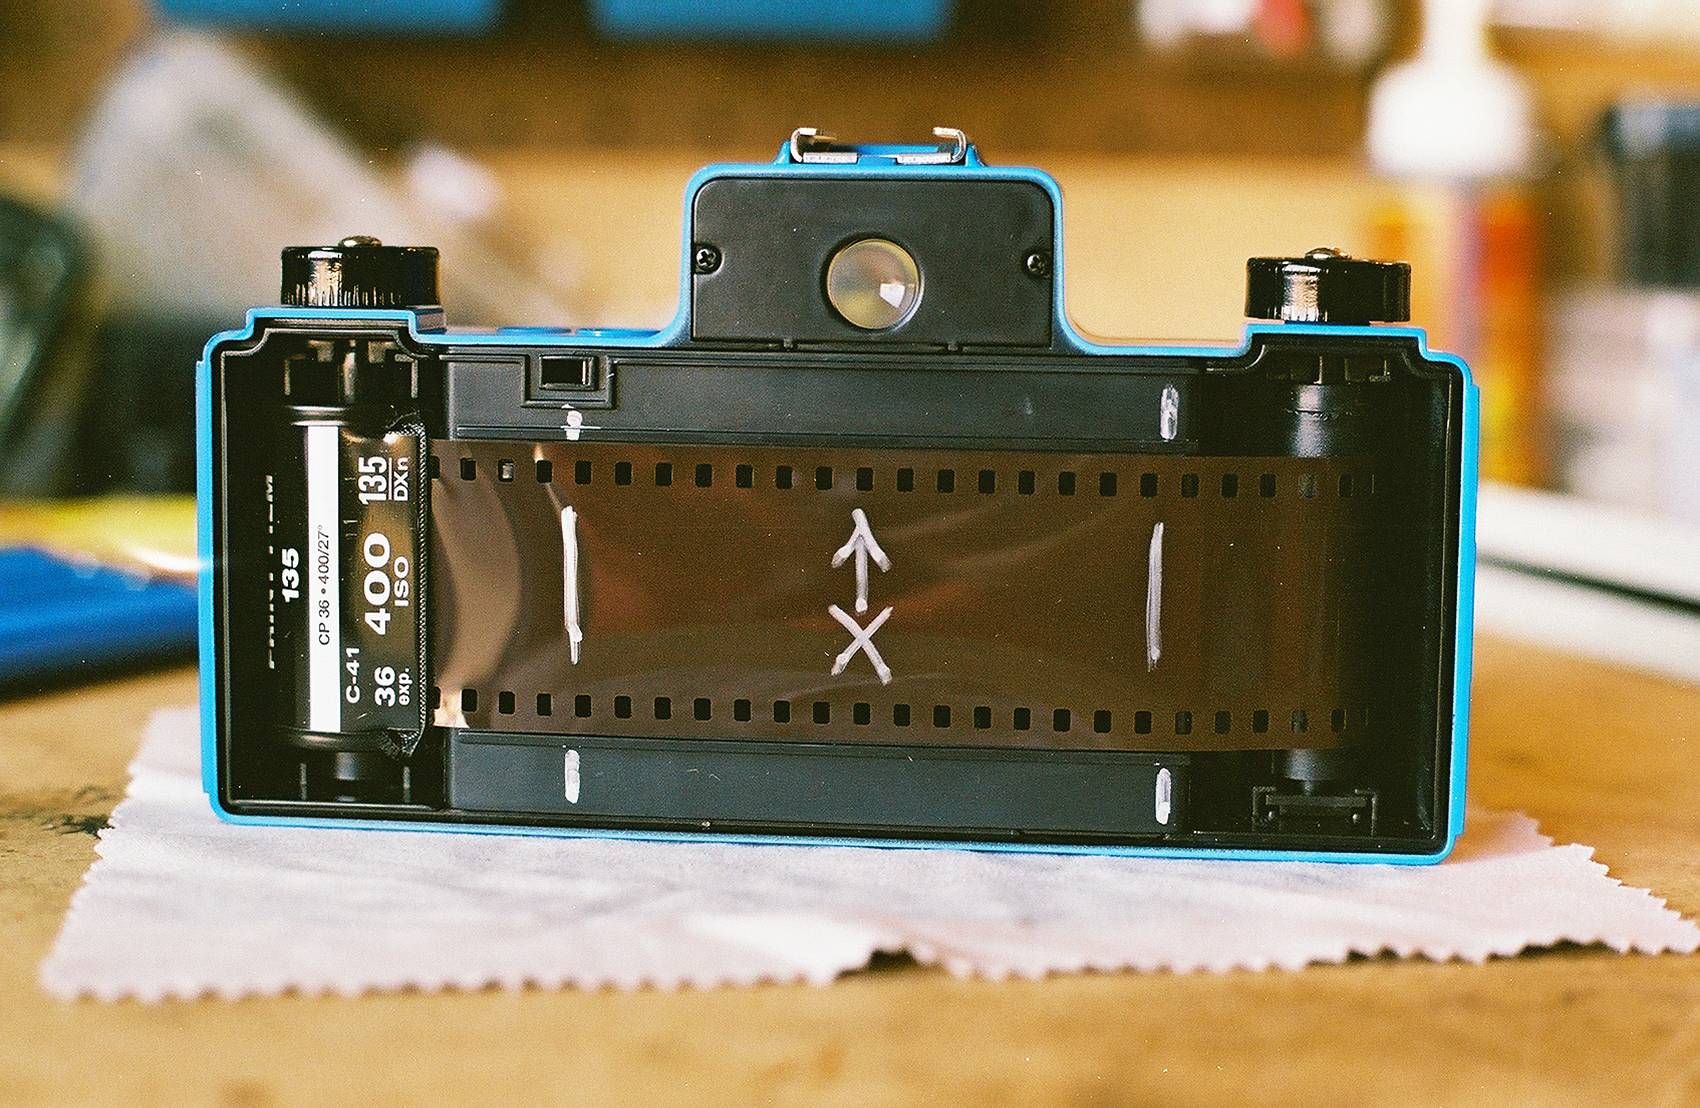
For those of you who like to do perfectly aligned doubles, this will come in very handy along with marking the film itself. I like to use the same marker and once I've loaded the film the first time, I mark a line to the left and right of the frame, using those marks we made before. Then I make a small X at the bottom and an arrow pointing up, letting me know that the film was facing up, in case I shoot it in another camera that loads the film from the right side instead of the left.

At this point, you should now have a SR that is pretty much Lomographic style ready with markings to help you see the shutter speed, focus, and to align the film for doubles.
But, there's more we can do. If you like to do inverted doubles, where you flip the camera for one of the shots, aligning it can be difficult unless you use the corners themselves. So, I like to use my straight edge or painters tape to tape the viewfinder off straight across the middle, then make two little small dots on the beveled edge of the viewfinder that help you tell if you have got the camera perfectly even. You can also mark them on the front of the camera or even on the viewfinder in the front if you wish, but I prefer to put them on the camera so my view isn’t hampered. Note this one is quite optional and many people just wing it and get it close.

Now we will tackle the lens cap. By itself, it mostly just gets in the way, but when you modify it, you can create your own Splitzer, using any portion from half to a quarter or whatever area you want exposed.

For this we'll need our knife and lens cap, plus a straight edge to get a nice clean edge, especially along the middle of the cap.
Carefully cut the plastic half way around the perimeter of the lens cap, then using the straight edge, carefully cut a nice clean straight light right down the middle, thus cutting out half of the lens cap and exposing your shots half way like a Splitzer would. Since the lens cap can go on the camera in any direction you can split your shots horizontally, vertically, or mix it up and pick random angles.


Congratulations, your SR is now ready for not just taking photos, but getting crazy and experimental.

Feel free to doodle on it, add stickers or anything you like to customize it more. And have fun shooting!
Cheers and Lomo On!
alienmeatsack


Get a Sprocket Rocket of your very own to make panoramic masterpieces in the Lomography Online Shop.
geschrieben von alienmeatsack am 2017-03-24 in #blue #color #tips #knife #modify #tipster #cut #modification #lomo #lomography #sharpie #ruler #hack #article #how-to #workbench #permanent-marker #mark #cn400 #sprocket-rocket #miranda-sensorex #lomohacks


20 Kommentare